AdamMD
New Member
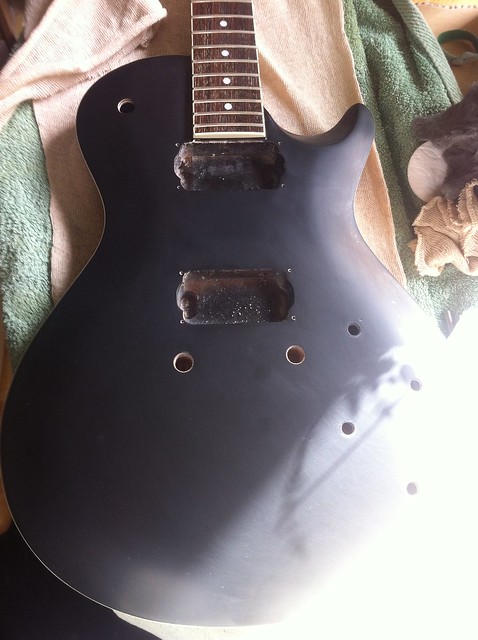
Hello everyone I've been a lurker on the forum since it started after the demise of birds and moons. I've just finished my most ambitious project and thought I'd share with fellow prs fans. I picked up a 2004 Tremonti SE which was in a bit of a sorry state. It had chips and dents all over the front, back and sides, it had obviously been dropped several times and the bridge bushings would no longer stay in causing the bridge to pull forward making it impossible to get the guitar playing without horrible fret buzz coming through. The pickups had been changed to emg 81 and 85 (badly I might add, they had tried to use the original mini pots with them) and the nut was ruined.
My main guitar is a goldtop ce22 and I always wanted a singlecut as backup. I traded my broken amp for this broken guitar and set to work to see if someone with my limited skills could get this guitar up and running again.
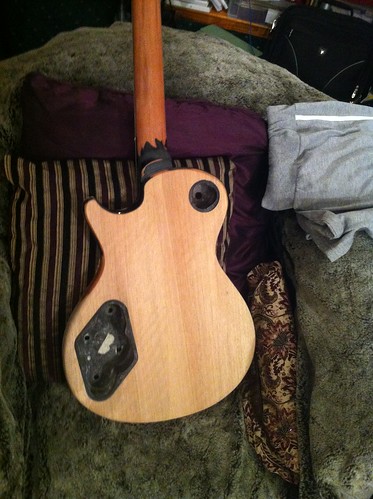
After having a good look at the guitar I decided to try and go for a 50's style blacktop look to compliment my goldtop ce22 so the first job was to strip the guitar down and get the finish off the back and sides. I did it the long slow way by sanding it off by hand. It took a LONG time to get it all off working the odd night and weekends when I got the chance. the next few pics will show the various stages of getting the old finish off. Unfortunately I stupidly didn't take any before pictures.
Here you go hopefully you all enjoy
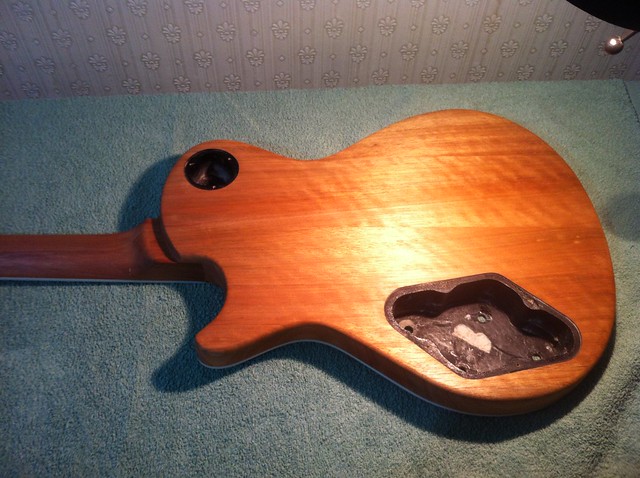
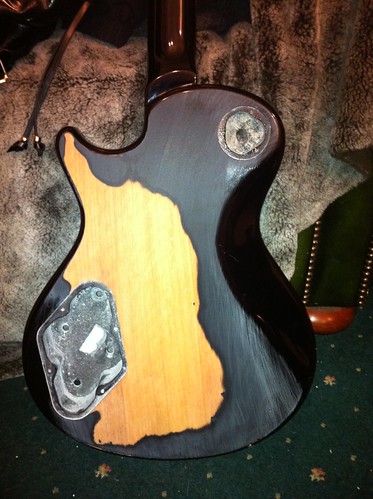
Where I got to after my first session sanding. I really didn't appreciate at the start how long this was going to take
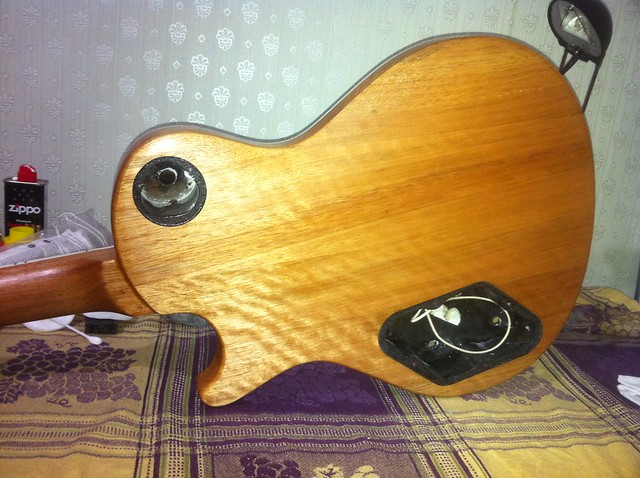
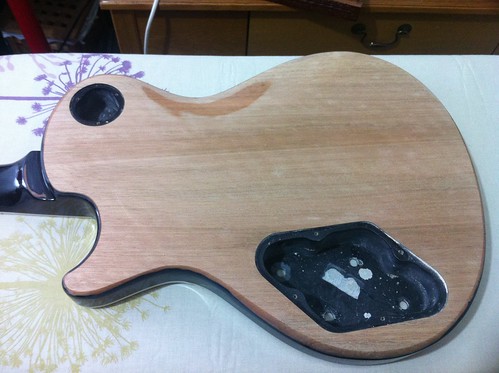
By the time I got to this stage I at least knew I had some decent wood under there, Much better than I had anticipated
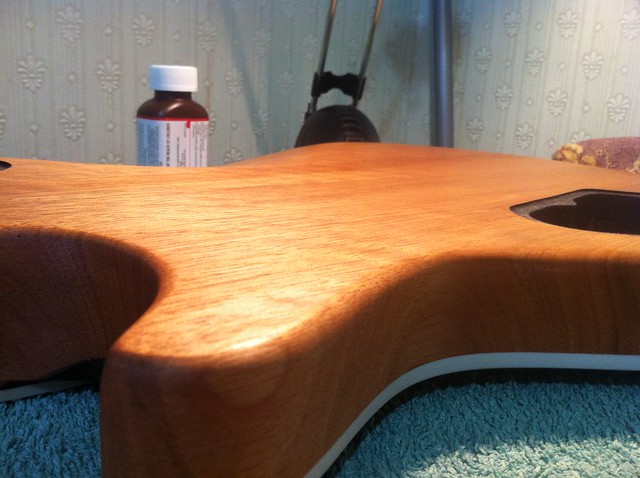
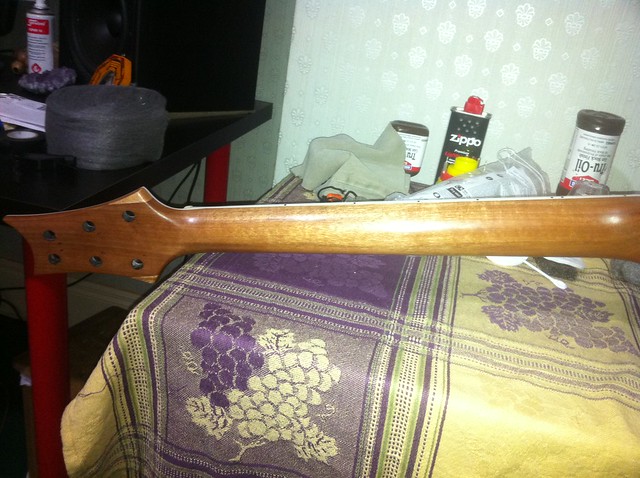
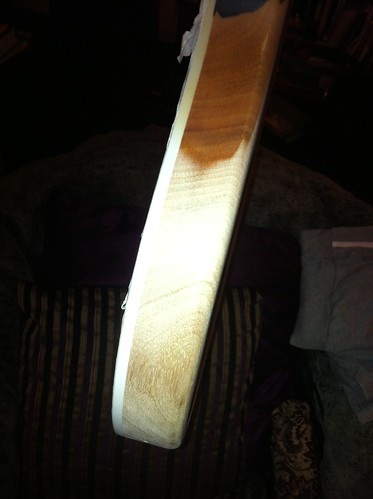
I was completely paranoid when taking the finish off the neck in case I sanded too much in any one area

The sealer layer on the neck and round the horn took a really really long time.
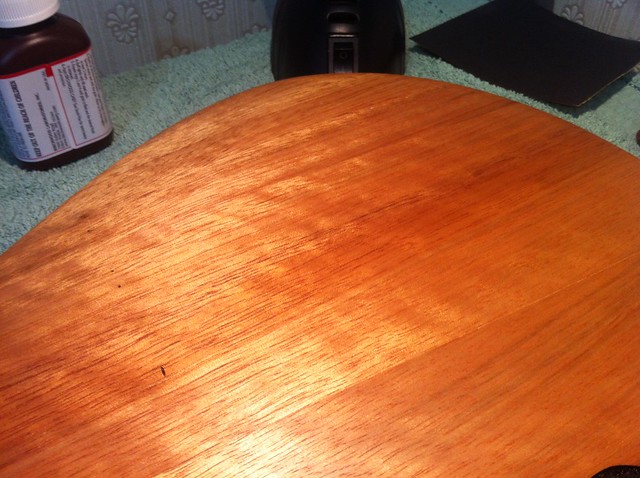
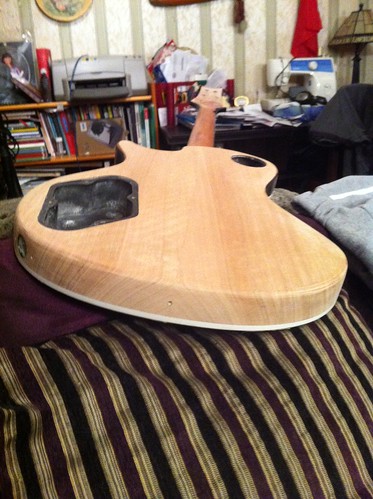
At this stage I was surprised but absolutley delighted at the quality of the wood and the way it had been matched.
Next update later today.
My main guitar is a goldtop ce22 and I always wanted a singlecut as backup. I traded my broken amp for this broken guitar and set to work to see if someone with my limited skills could get this guitar up and running again.
After having a good look at the guitar I decided to try and go for a 50's style blacktop look to compliment my goldtop ce22 so the first job was to strip the guitar down and get the finish off the back and sides. I did it the long slow way by sanding it off by hand. It took a LONG time to get it all off working the odd night and weekends when I got the chance. the next few pics will show the various stages of getting the old finish off. Unfortunately I stupidly didn't take any before pictures.
Here you go hopefully you all enjoy
Where I got to after my first session sanding. I really didn't appreciate at the start how long this was going to take
By the time I got to this stage I at least knew I had some decent wood under there, Much better than I had anticipated
I was completely paranoid when taking the finish off the neck in case I sanded too much in any one area
The sealer layer on the neck and round the horn took a really really long time.
At this stage I was surprised but absolutley delighted at the quality of the wood and the way it had been matched.
Next update later today.