So Round 1:
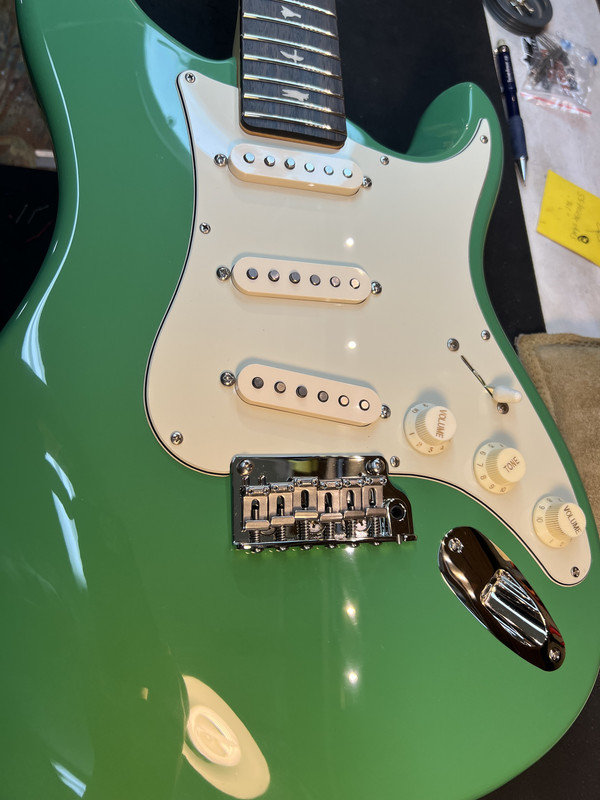
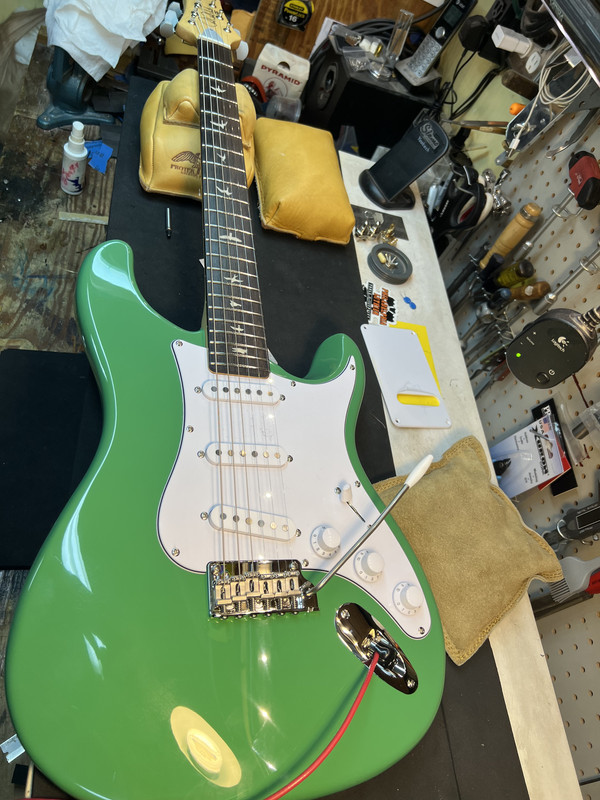
Installed new custom mint pickguard made for me by the good folks at WD Music
Old:
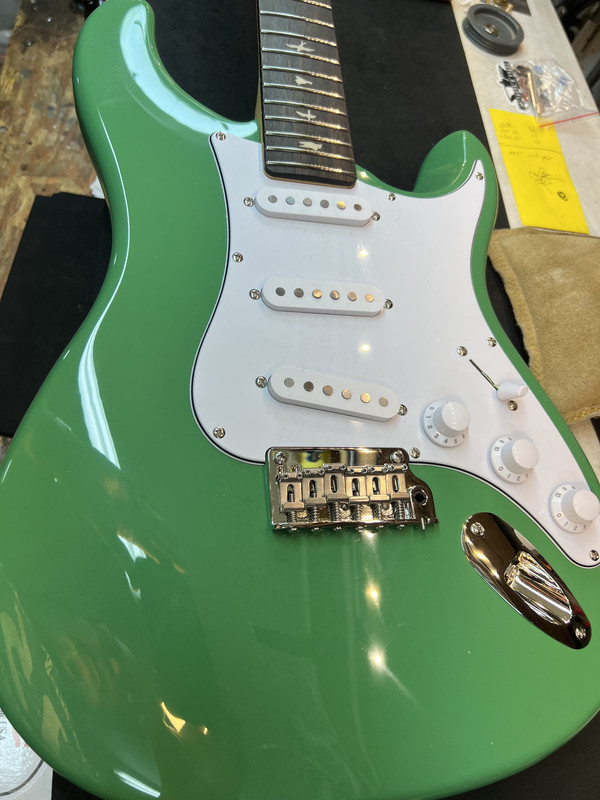
New:
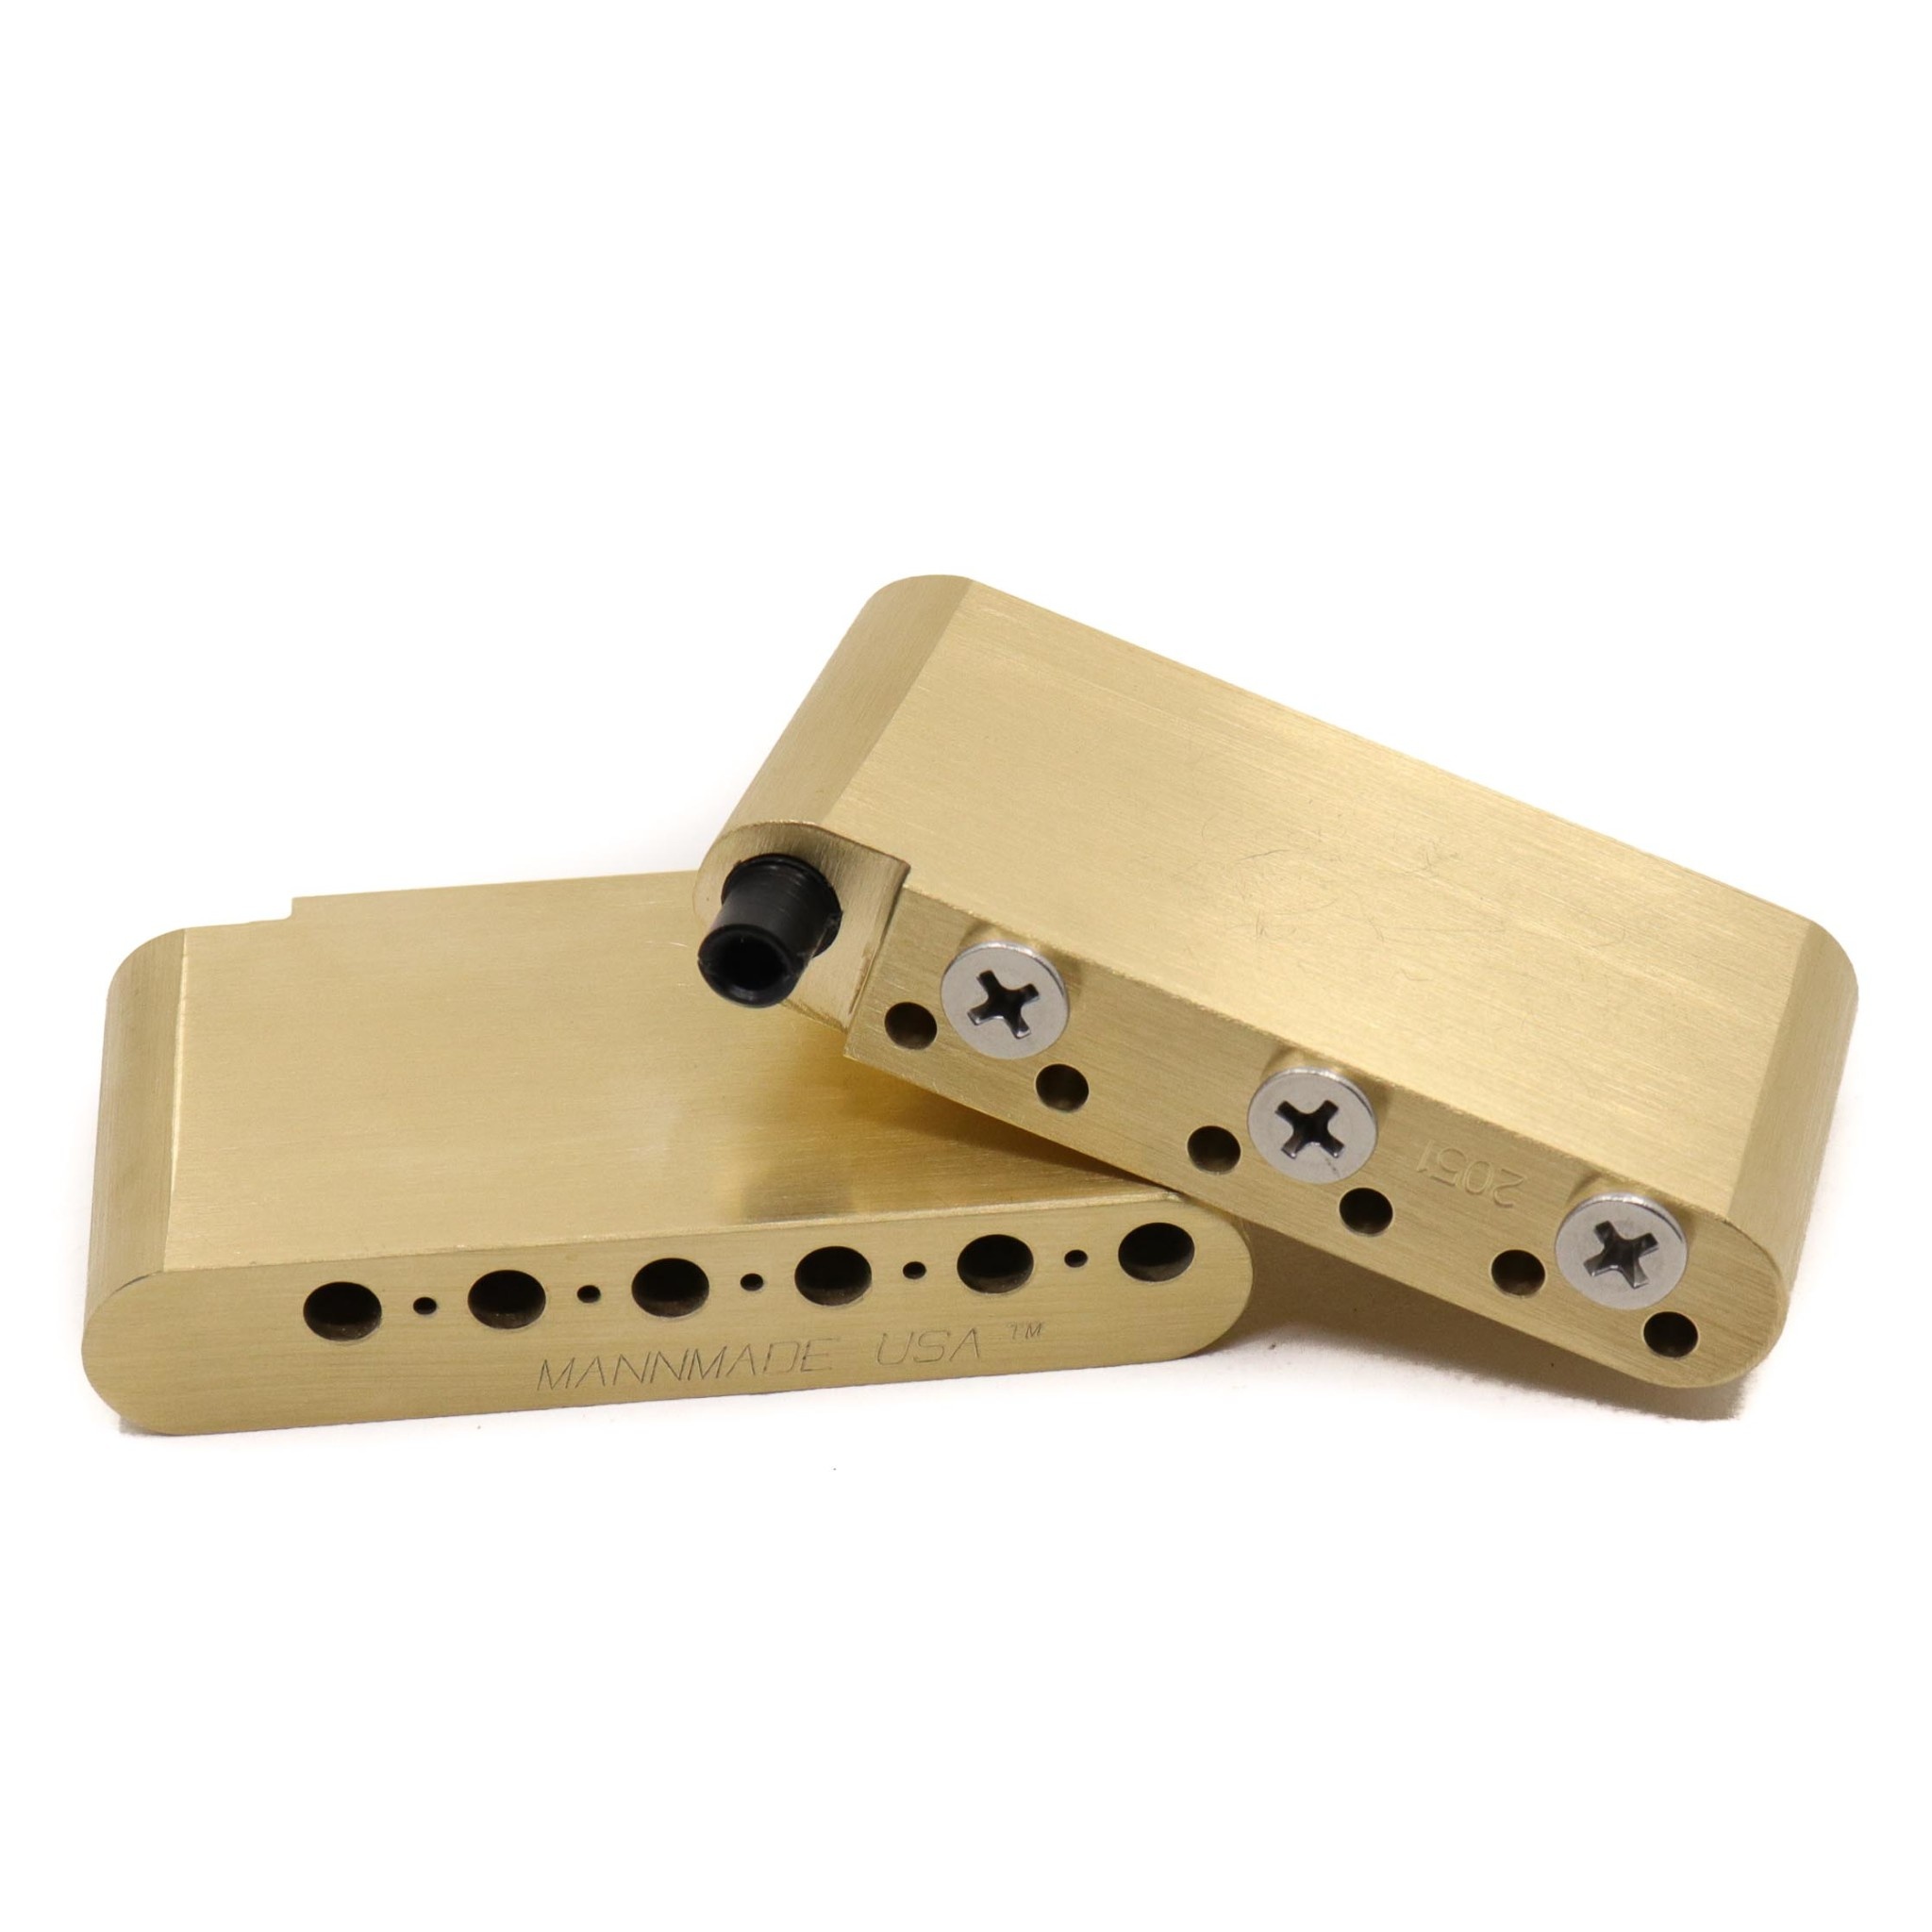
Installed a brass block from John Mann
Sales and service of world class guitars, amps and parts. PRS Guitars Signature Dealer. MannMade USA parts

www.johnmannsguitarvault.com


Installed some Dimarzio Area pickups - '61-'58-Virtual Heavy Blues 2

www.dimarzio.com
I created and installed a custom wiring harness using CTS pots, CRL 5-way, Gavitt vintage style wire, and a vintage .1u tone cap supplied by my good friend Tony Bruno
Stock:

New:


I am definitely please with the result. The brass block has added sustain and fatness to the acoustic tone of the guitar. The pickups have added some grunt and are centered more around mid frequencies that I prefer than the stock Silver Sky SE pickups. The stock pickups aren't bad but these take it to a place that I like a lot more. I am a huge Dimarzio pickup fan and I run Dimarzio Areas in all of my S-style guitars so it's no surprise that these sound more like home to me.
")
Overall it went about as expected but I did run into a couple of issues, first, like in my SE 594 upgrade thread, I ran into the issue of the holes that the wires are routed through are stupidly narrow. The one I ran into is the one from the output jack to the electronics cavity. The wire I used is standard cloth style tinned wire and I couldn't get two wires through the hole without re-drilling it. Why they do this I don't know but it is annoying and for a person that doesn't have the right tools this would probably stop you in your tracks.


The next issue I ran into was that the new Switchcraft jack wouldn't fit into the jack cavity. I had to deepen it a but and I just used a 1" Forstner bit and had at it. All good after that.

The install of the brass black went smoothly as expected but when I strung up the guitar, I ran into an issue that I did not expect. When I reinstalled the bridge it sat flat on the body and the knife edges were not in the grooves of the studs. If you have ever worked on a PRS bridge or even any 2-post style trem bridge you have probably experienced this. I didn't think much of it and usually I can just push down slightly on the back of the block and the bridge will pop up and the knife edges will seat in the grooves on the posts. Well not with this bridge and this soured me a little on the design of the SS SE bridge. It's difficult to show what happened and these pics are after the fact and the second issue I had with the bridge
What happens is that the plate gets stuck underneath the area where the groove is and it is very difficult to get it up and into that groove, even with the strings slackened. I had to remove the springs from the back and lift up the plate with a screwdriver and insert some cork underneath to keep it above the groove. That is what these pictures show

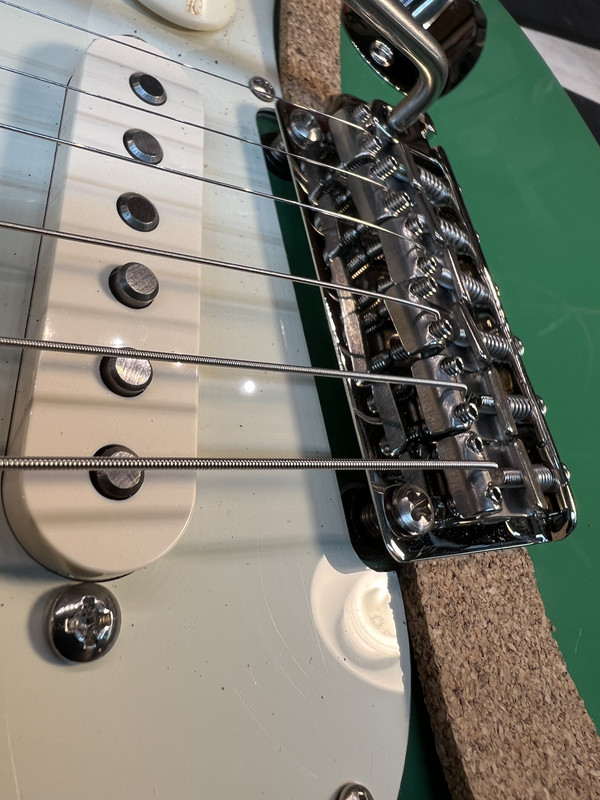
To make it even more of a pita whenever I tried to pull up on the bridge to get the plate edge in the groove it pulled the studs out of the body! So it was a balancing act of getting the plate up, putting some cork under it to keep it up, and tapping the studs a little bit to get the bushings seated back in the body. Talk about a PITA! Next time I have it apart I will leak a little CA glue in there and reseat the bushings. BTW the studs are a little sloppy in the bushings as well but nothing major and the bridge does stay in tune very well.
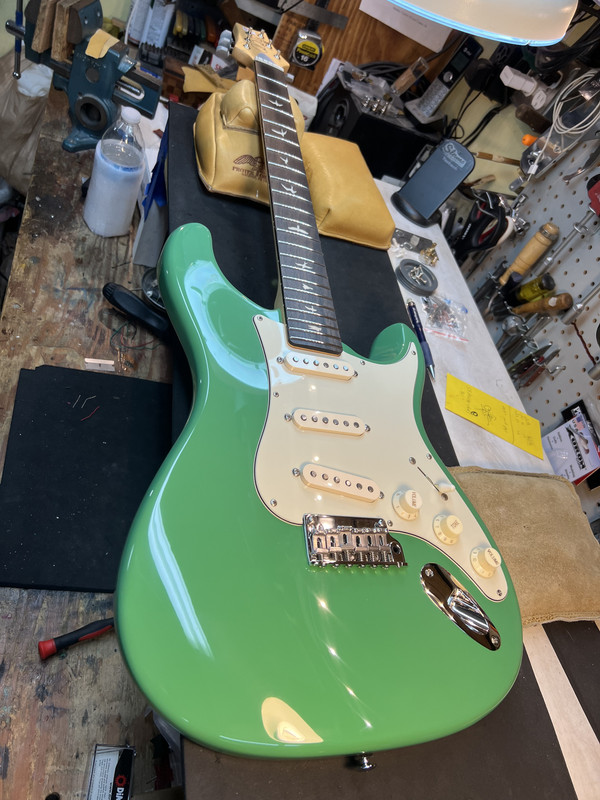
So all in all it was a lot more work than I anticipated but I got it done over the course of a couple of hours on the bench. This time it was about the body, bridge and electronics. Next time I will focus on the neck and do some fretwork and change out the tuners and possibly the nut. Heck I may even throw some jumbo frets in it, who knows?
Until next time, Slamo out.
Before:

After:


 ). I might return to improving the wiring a bit at some point because the 5-way switch may need to be replaced, as it makes some cracking noises regardless of cleaning the contacts.