Artist
New Member
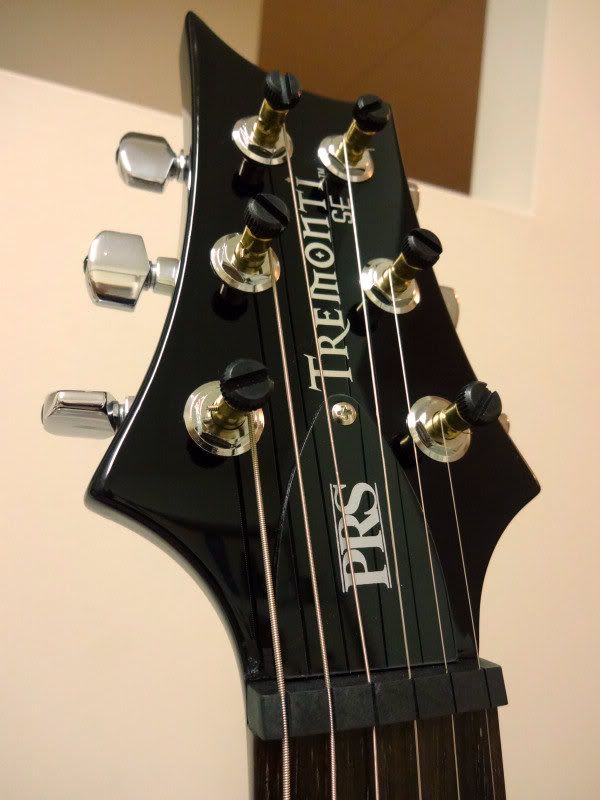
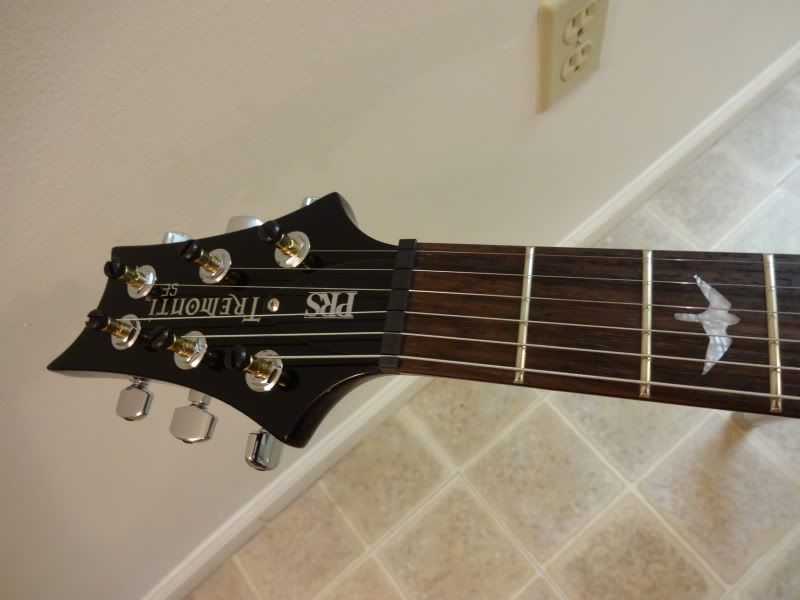
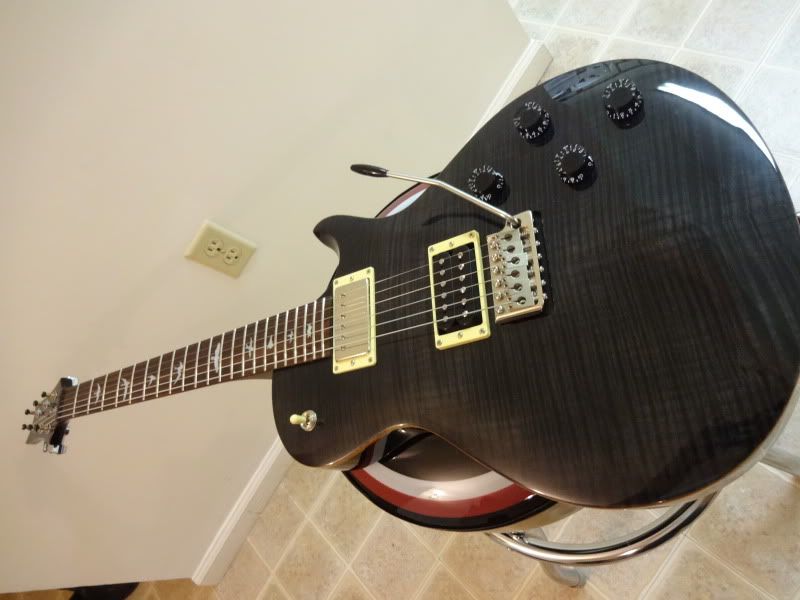
As part of my project to upgrade my new SE Tremonti Custom I took the plunge on drilling one of my guitars for the first time.
I do most of my guitar work, but never installed tuners before. As with everything I try for the first time, I do a lot of research on the best way to do all steps and then adapt to a homemade version.
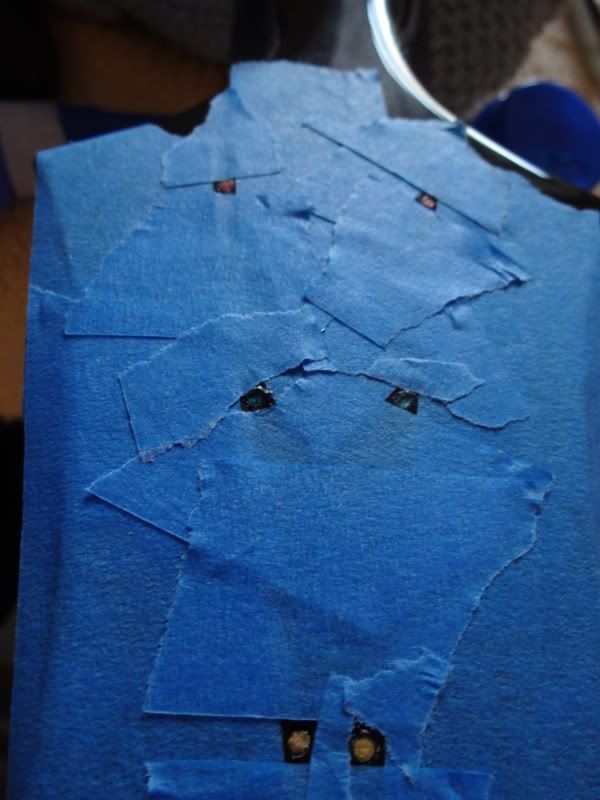
Installation of PRS Phase II locking tuners on an SE requires re-drilling pilot holes for the alignment pin screws and covering the old ones for aesthetics. No modification required on the big holes.
Wanted to share the pictures and steps on how I did it. I didn’t call this a “guide” or How-to as I am not a repair tech and don’t want to be responsible if you damage your guitar doing this.
In my case it worked perfectly") This should help you decide if you are not confortable with doing a procedure like this and better leave it to the trusted PTC guys.
This should help you decide if you are not confortable with doing a procedure like this and better leave it to the trusted PTC guys.
Feel free to add your own tips…
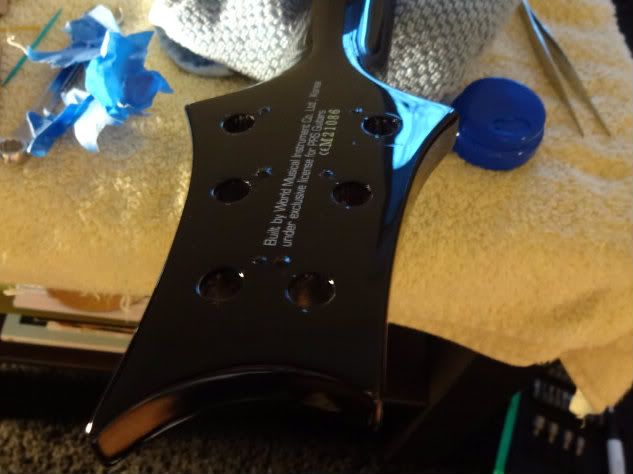
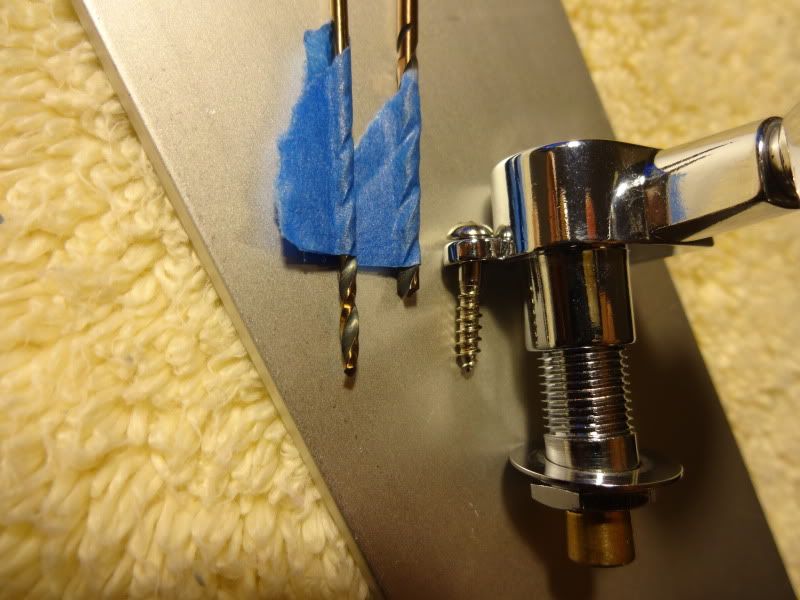
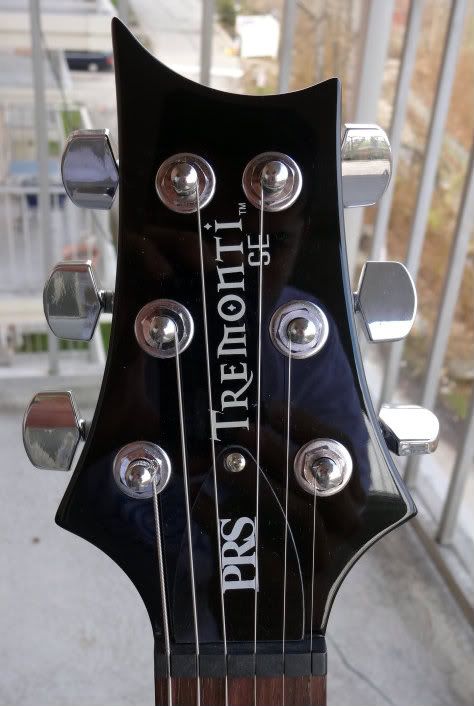
We start with the before pictures. Stock SE Tuners, good but not enough for me on a Trem guitar. Note the screw location is at an angle at the corner.
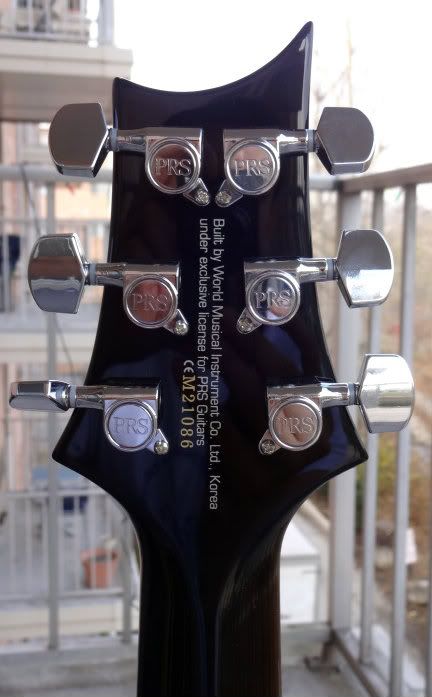
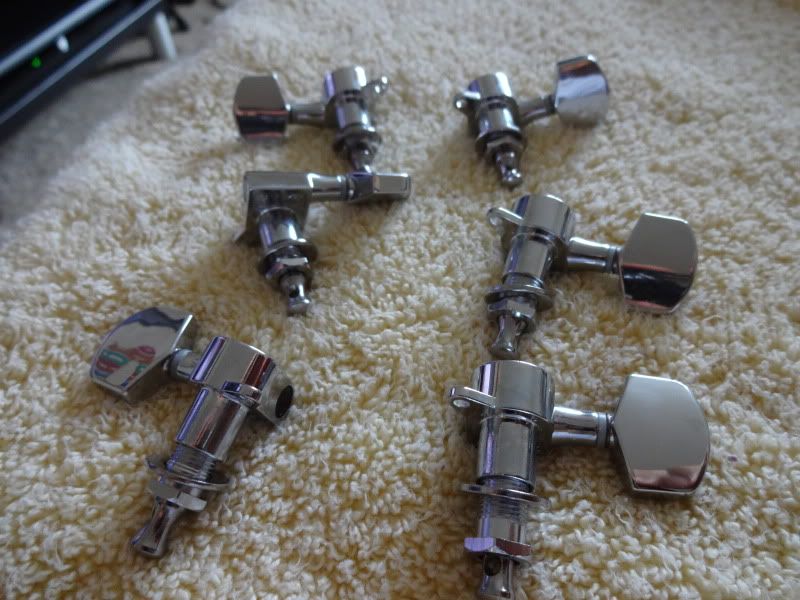
Here are the Phase II babies ready to go in. Note that the screw location runs straight down.

You can see the little bars on the back of the tuner wall that look like Roman numerals (IIII, III, II). Some people have the incorrect notion of those indicating their placement on the headstock. They are just casting mold marks and can be ignored. All of the tuners are the same.
REMOVAL
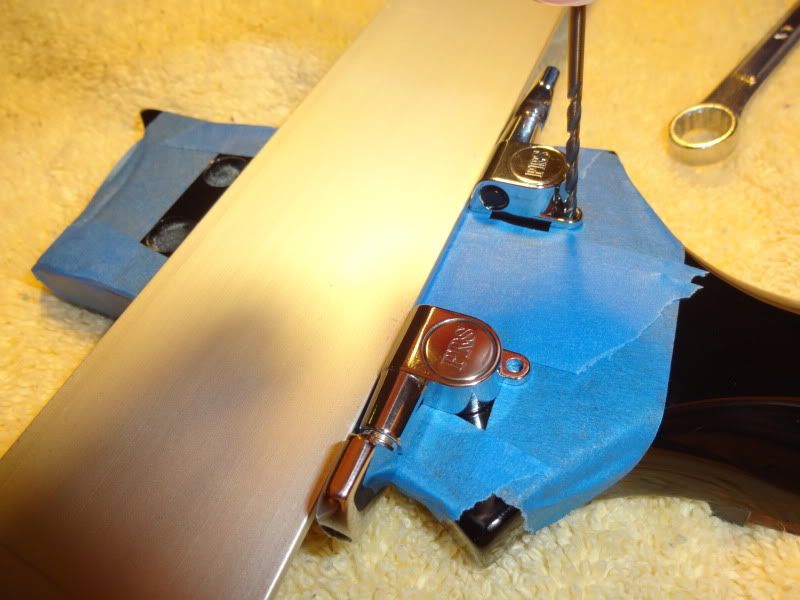
You will need a 10mm metric wrench to remove the top nut. Strongly recommend using a box/ring side from a “combination” wrench like pictured. Don’t go cheap and use those open ones that can lead to scratches on the guitar or thread damage
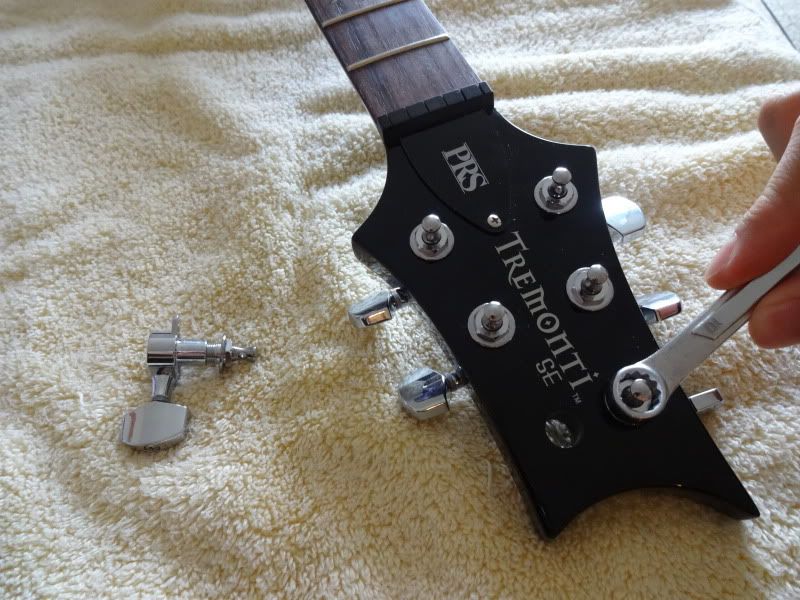
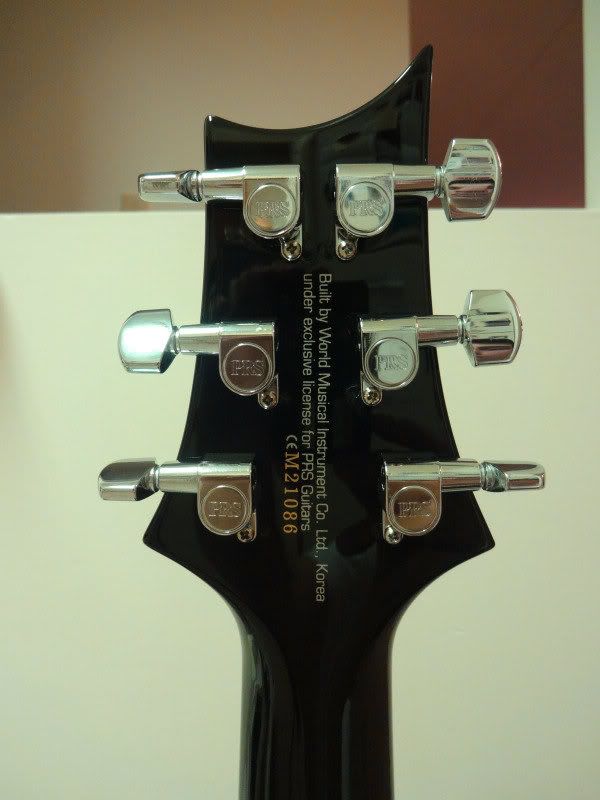
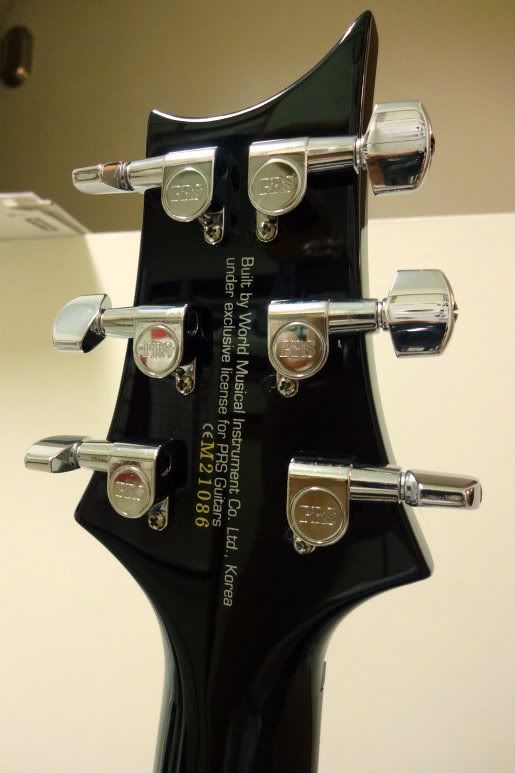
Remove the back screws and they are out. Love those Tremonti big letters.
Bye, bye :hello:
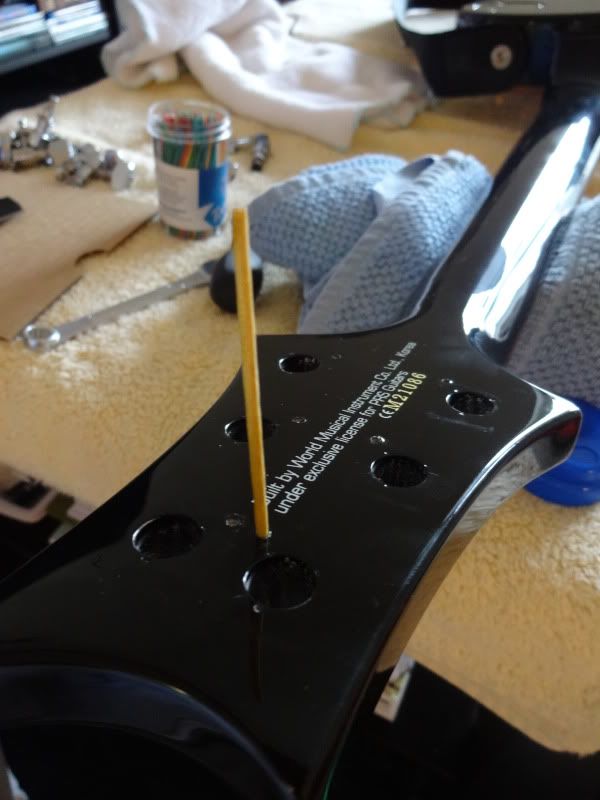
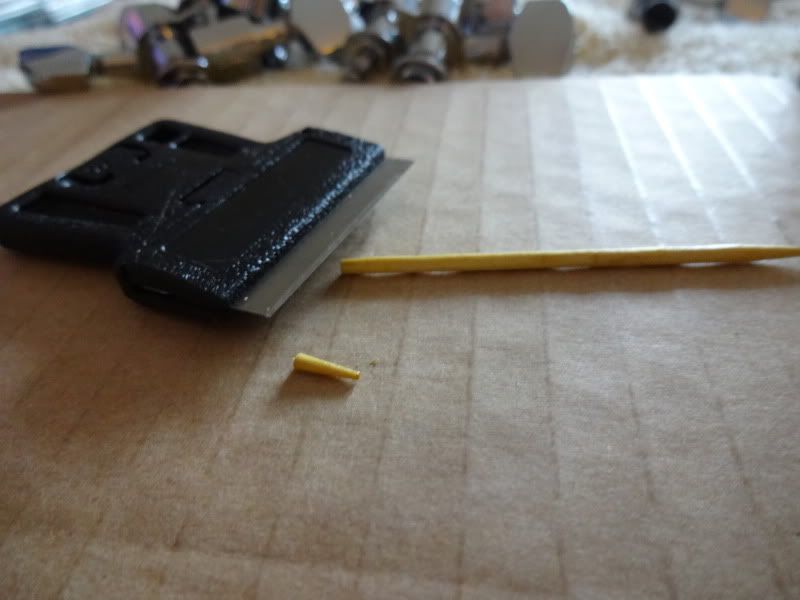
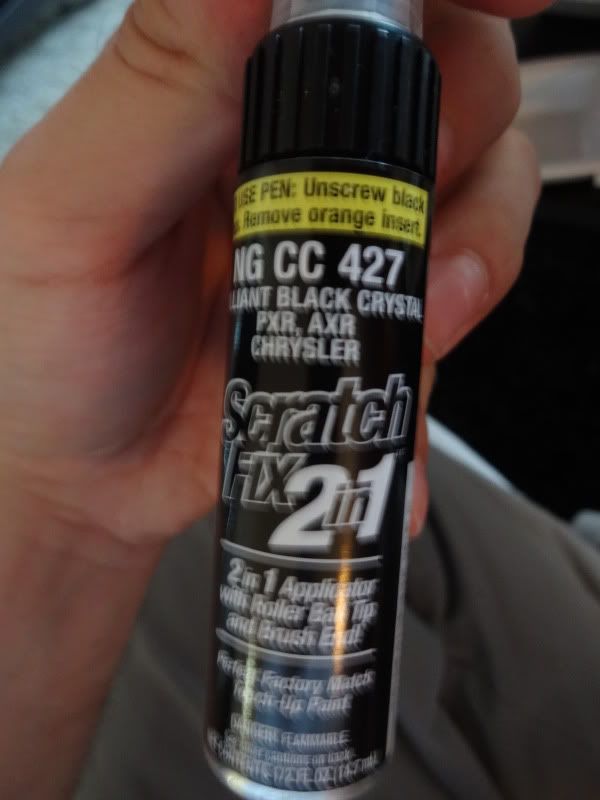
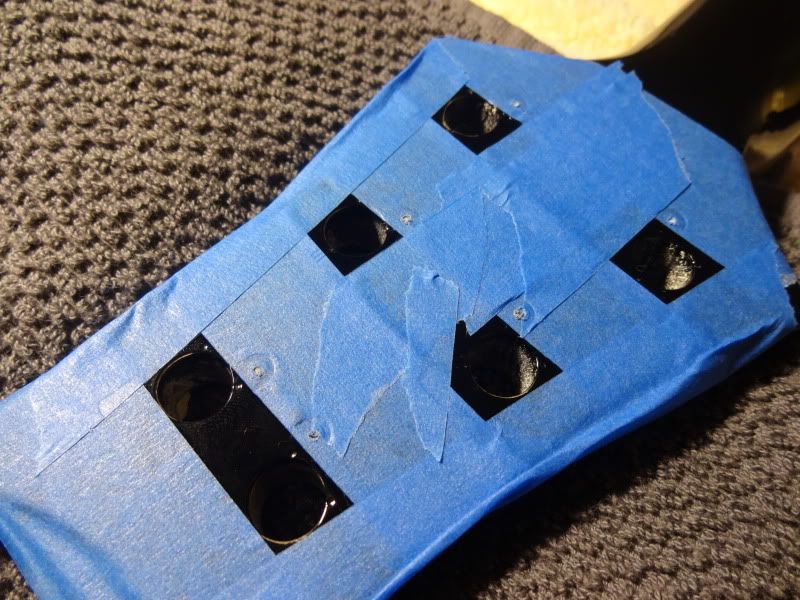
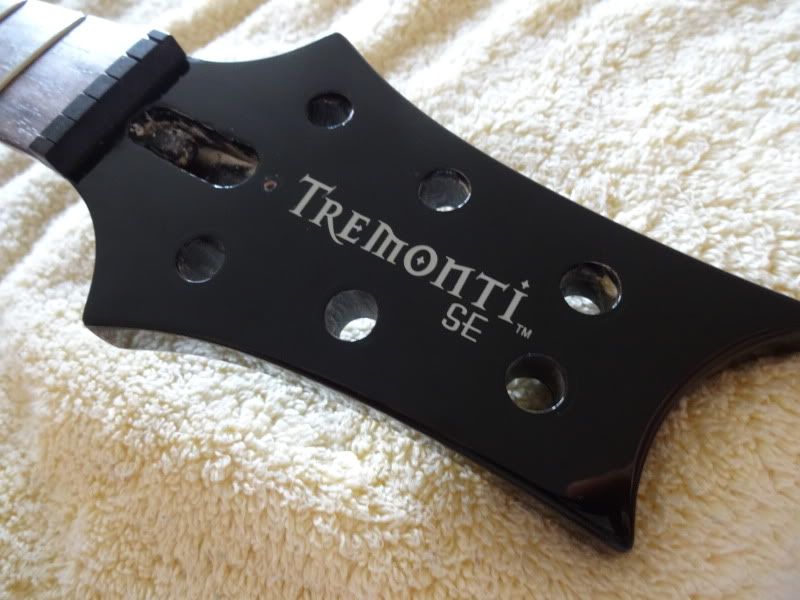
They will leave these ugly holes that won’t be covered by the Phase IIs… Time to get creative.

Continues..
I do most of my guitar work, but never installed tuners before. As with everything I try for the first time, I do a lot of research on the best way to do all steps and then adapt to a homemade version.
Installation of PRS Phase II locking tuners on an SE requires re-drilling pilot holes for the alignment pin screws and covering the old ones for aesthetics. No modification required on the big holes.
Wanted to share the pictures and steps on how I did it. I didn’t call this a “guide” or How-to as I am not a repair tech and don’t want to be responsible if you damage your guitar doing this.
In my case it worked perfectly
This should help you decide if you are not confortable with doing a procedure like this and better leave it to the trusted PTC guys.Feel free to add your own tips…
We start with the before pictures. Stock SE Tuners, good but not enough for me on a Trem guitar. Note the screw location is at an angle at the corner.
Here are the Phase II babies ready to go in. Note that the screw location runs straight down.
You can see the little bars on the back of the tuner wall that look like Roman numerals (IIII, III, II). Some people have the incorrect notion of those indicating their placement on the headstock. They are just casting mold marks and can be ignored. All of the tuners are the same.
REMOVAL
You will need a 10mm metric wrench to remove the top nut. Strongly recommend using a box/ring side from a “combination” wrench like pictured. Don’t go cheap and use those open ones that can lead to scratches on the guitar or thread damage
Remove the back screws and they are out. Love those Tremonti big letters.
Bye, bye :hello:
They will leave these ugly holes that won’t be covered by the Phase IIs… Time to get creative.
Continues..