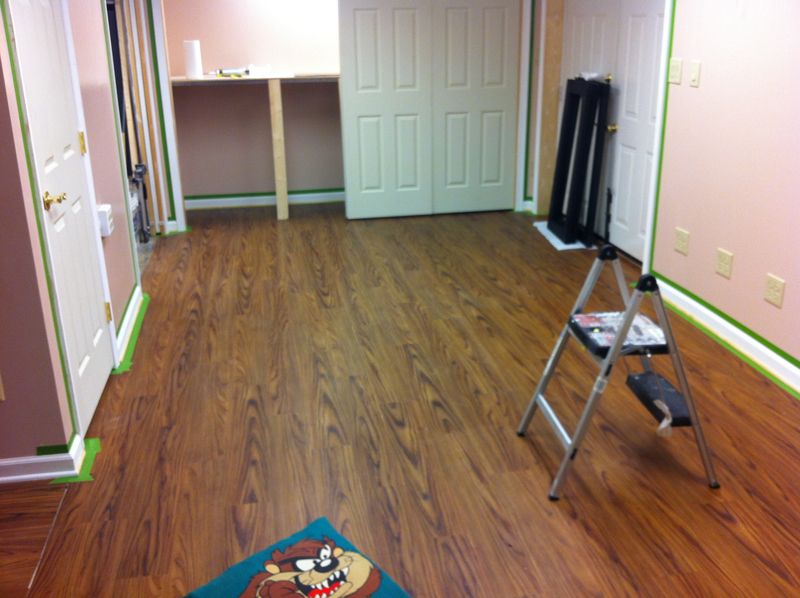
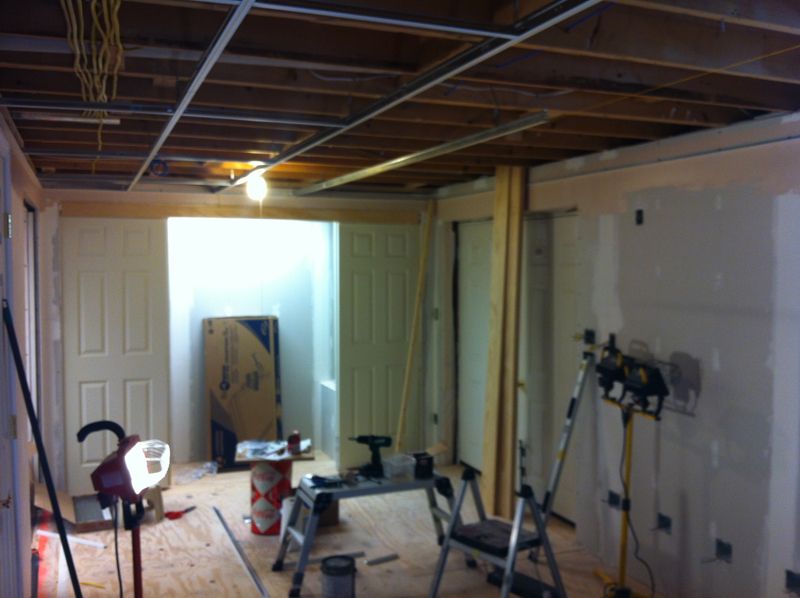
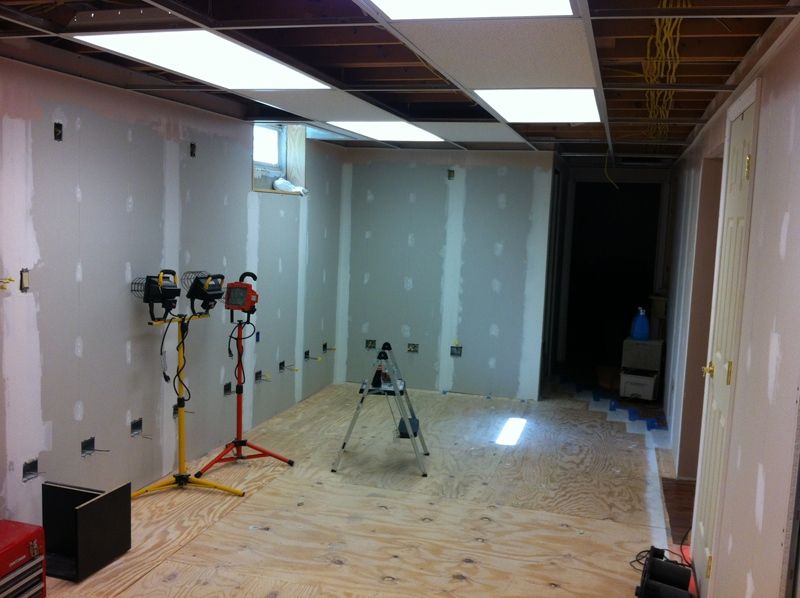
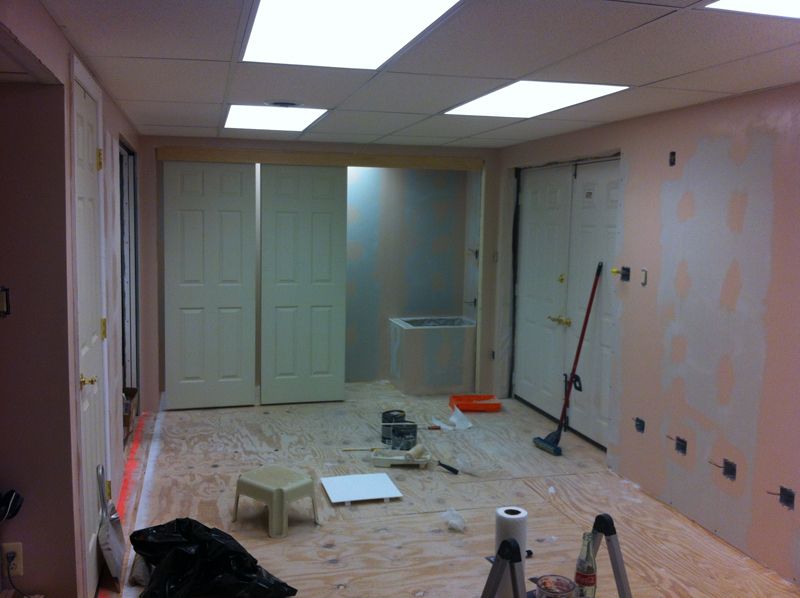
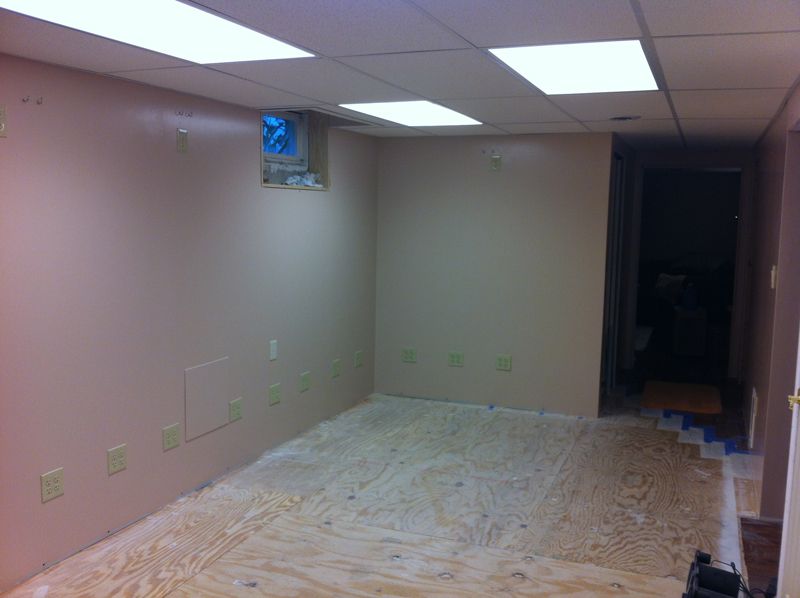
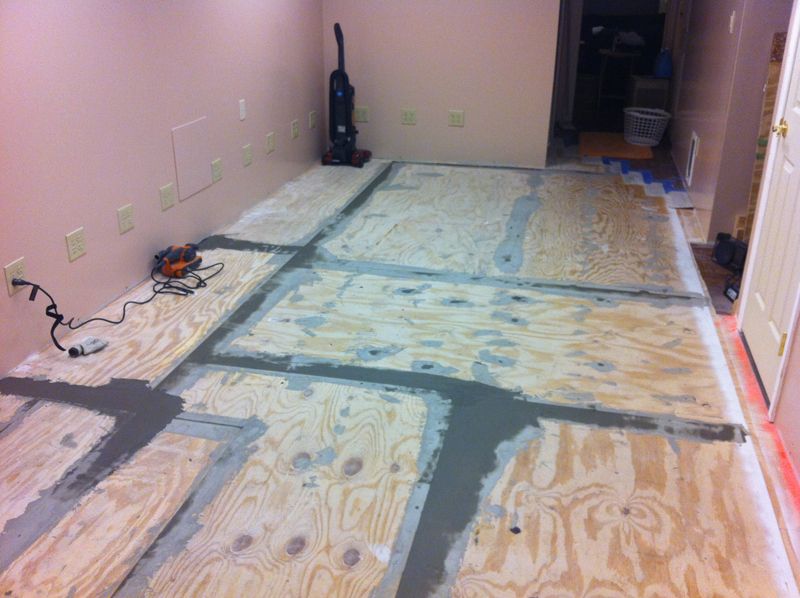
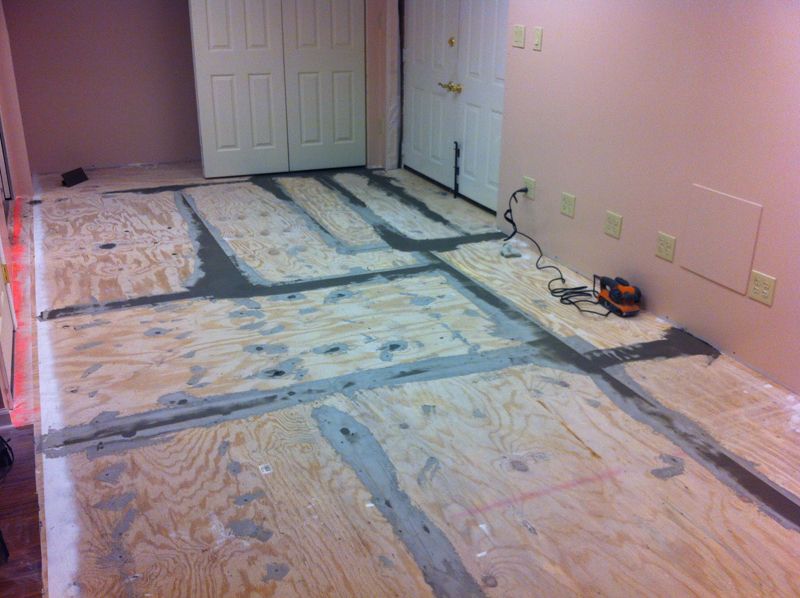
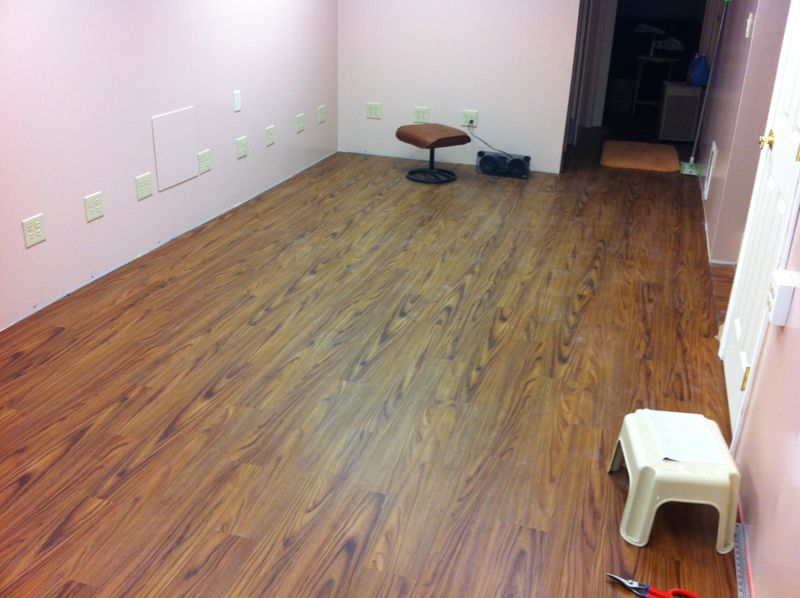
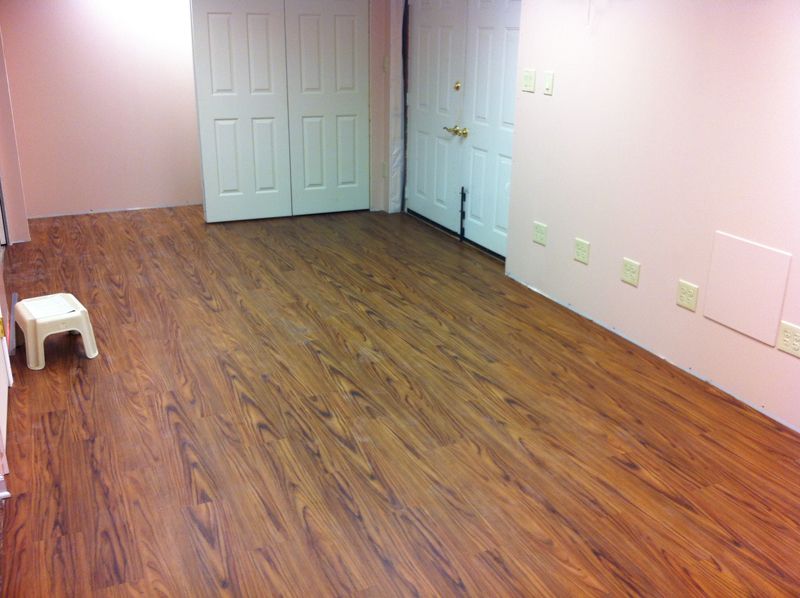
I'm lovin' all the electrical outlets! I had my contractor load up my room, as well...
Jamie
Jamie
I'm lovin' all the electrical outlets! I had my contractor load up my room, as well...
Jamie


Im seriously surprised at how anxious I am getting for this! Its not even my studio! hahah
")
Wow, what an amazing job you did. Can I hire you if I ever manage to get a house for grown-ups?
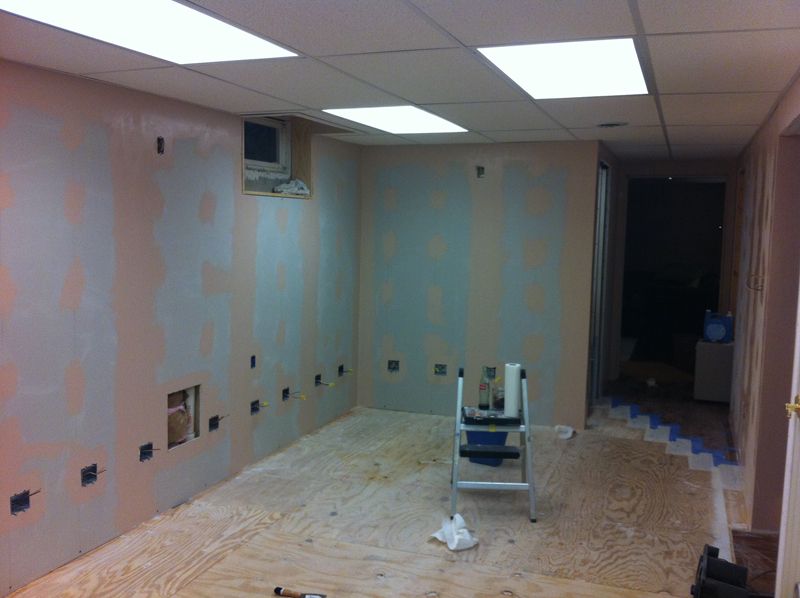
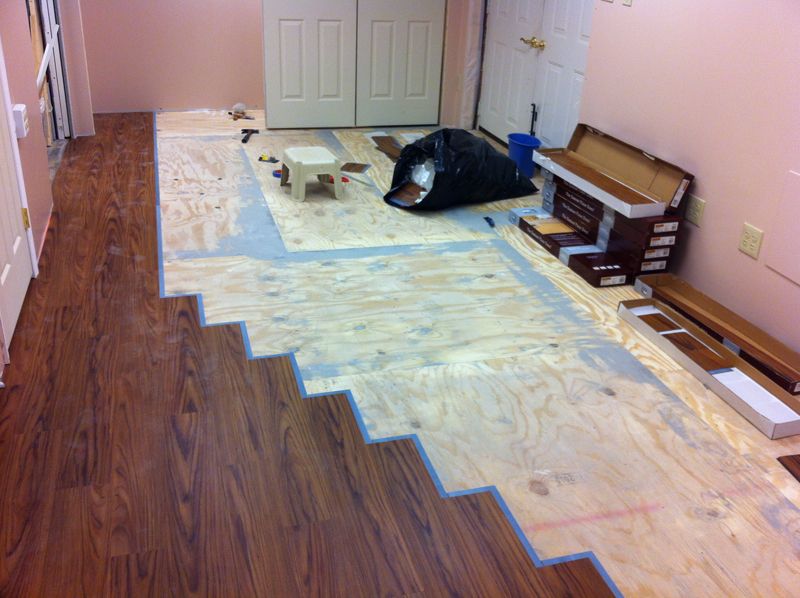
Theater blanket, resilient channel, 1 pound rubber...