Mikegarveyblues
Cream Crackered
Finally got some spare time between changing nappies to install the Mann adjustable bridge!
Before anything else I have to give a big thanks to Jim (Bodia) and everyone at MannMade USA who went out of their way to get this bridge (Including the early version) to me and went out of their way to sort any issues. :congrats:
So...
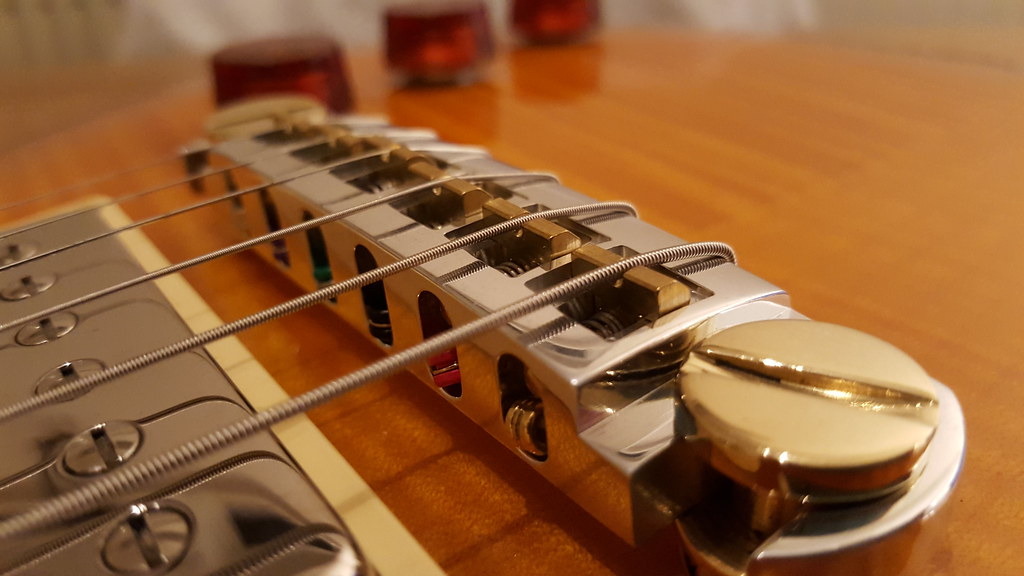
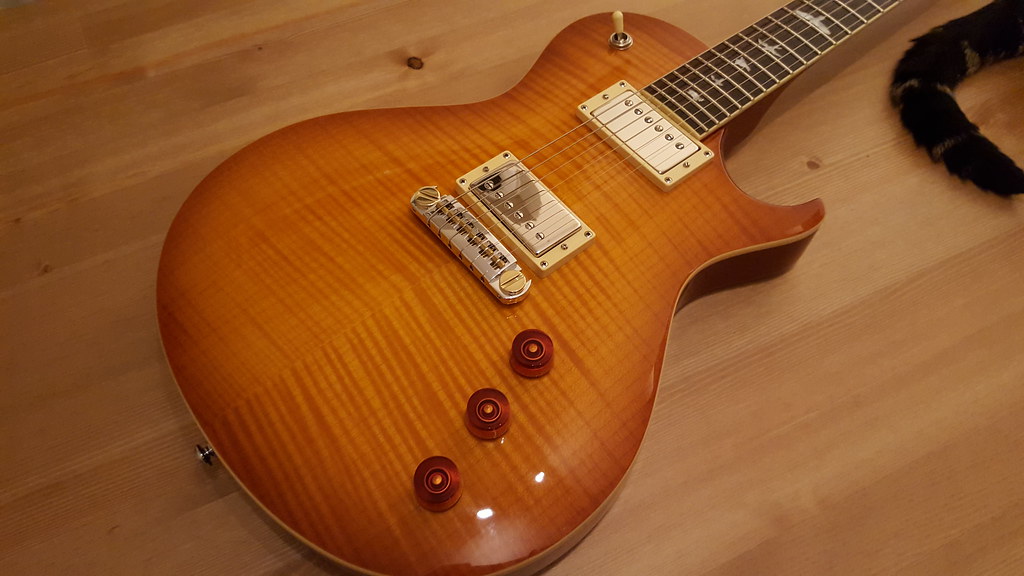
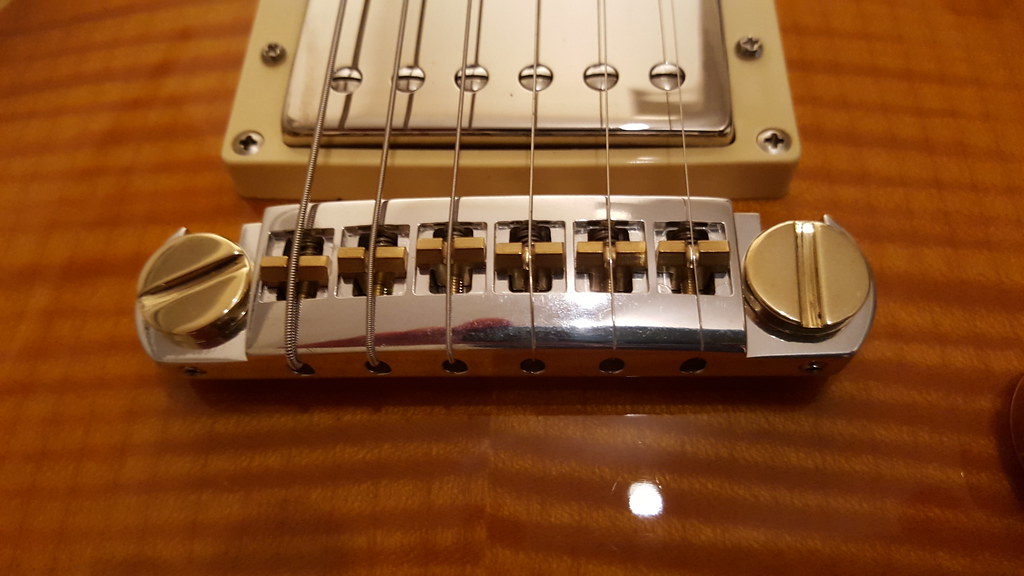
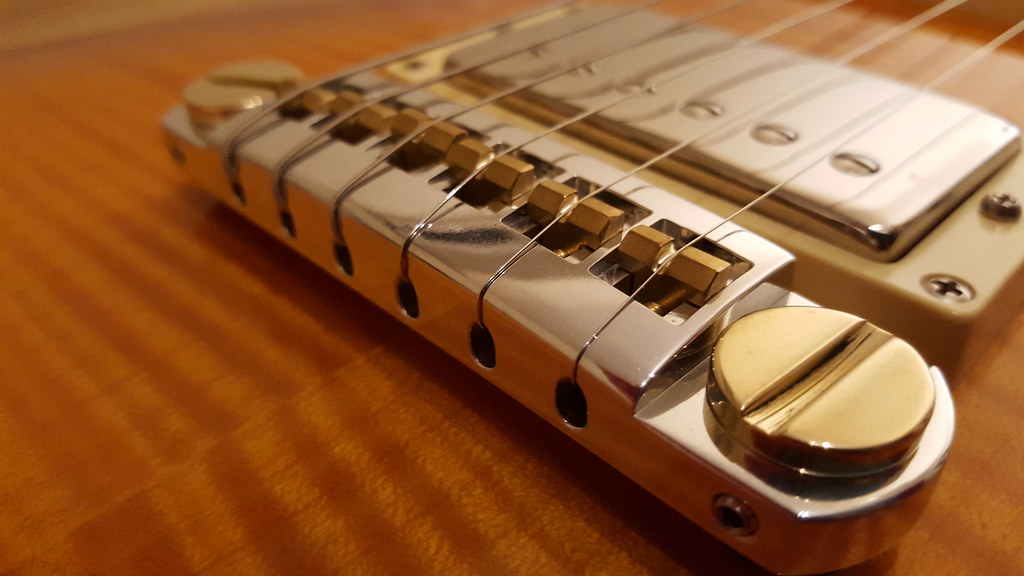
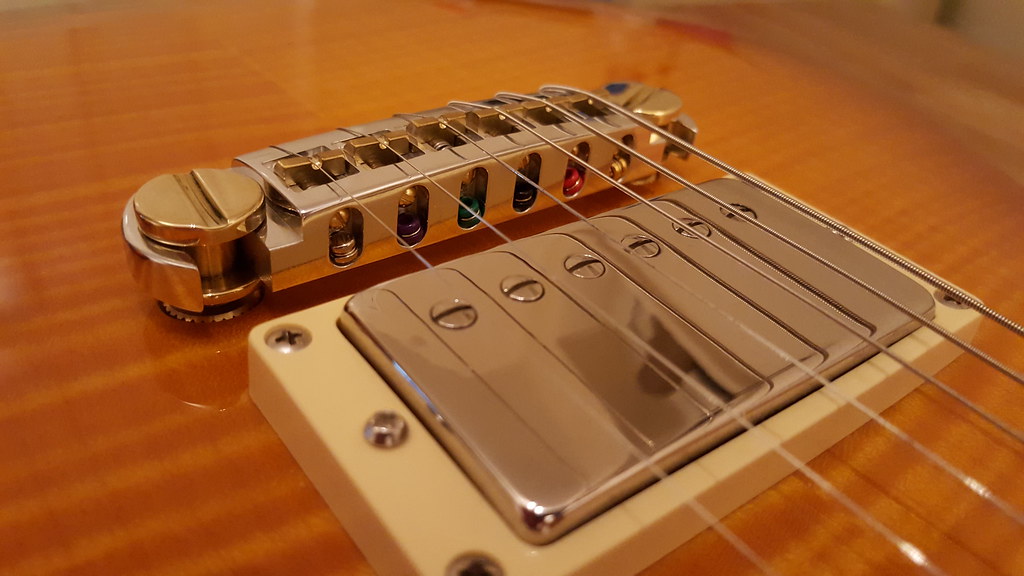
Well, it looks good! Nice, solid looking piece of aluminium and the brass studs, saddles and screws look very classy!
But looks mean nothing if it doesn't sound good! The good news is that it has definately improved the sound of my Marsden. It was always a good sounding guitar but incremental upgrades have improved things along the way. Swapping the nut was one of the best upgrades but it was always slightly dark sounding...
The Mann bridge has given the sound some balance. The lows are still there and well defined but it's more balanced in the mid regions and a smooth high end. I like it. A lot!
Sustain wise it's about the same I think or perhaps a little better. Swapping the nut and moving to locking studs improved the sustain quite a bit, although the guitar was never lacking. The locking studs are gone and replaced with the brass studs and stud wells. None locking as you'll know but so well made they don't need to be.
So, looks good, sounds good and a big improvement on the stock SE stoptail. well worth investing in!!!
So... You want pics?
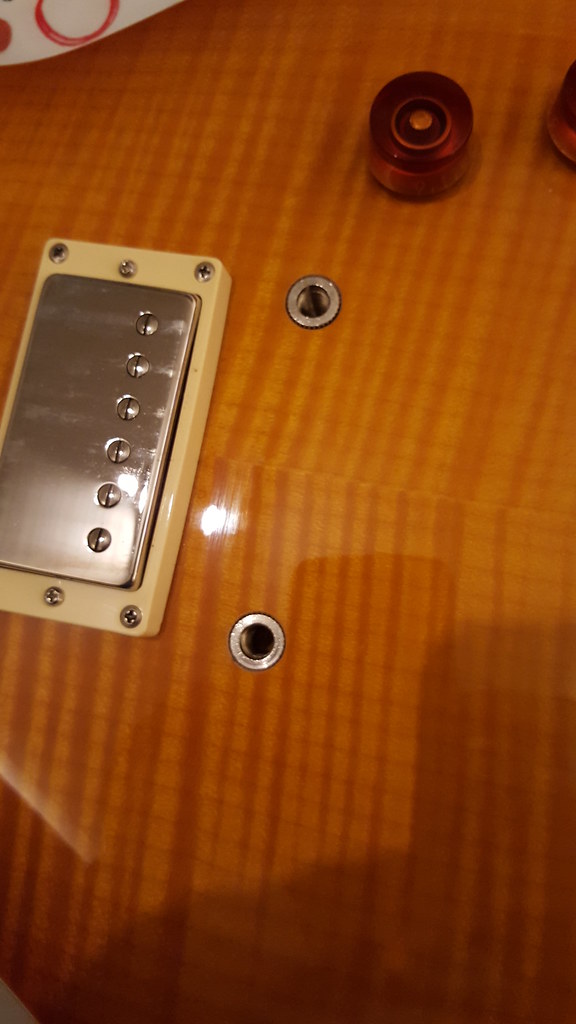
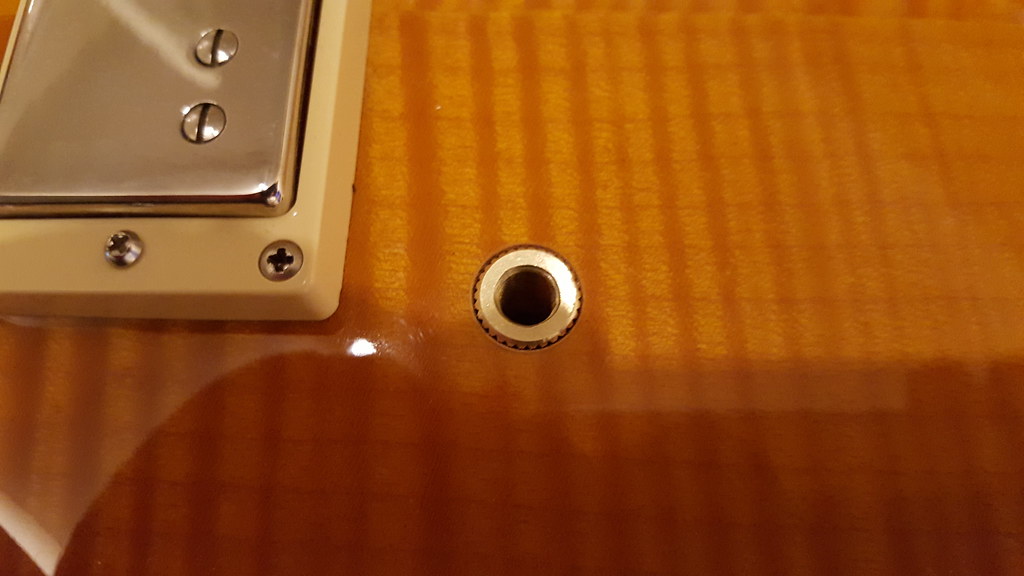
Gotta get these studs out...
 20151119_221102 by MikeGBlues, on Flickr
Easy enough with the kit supplied by John!
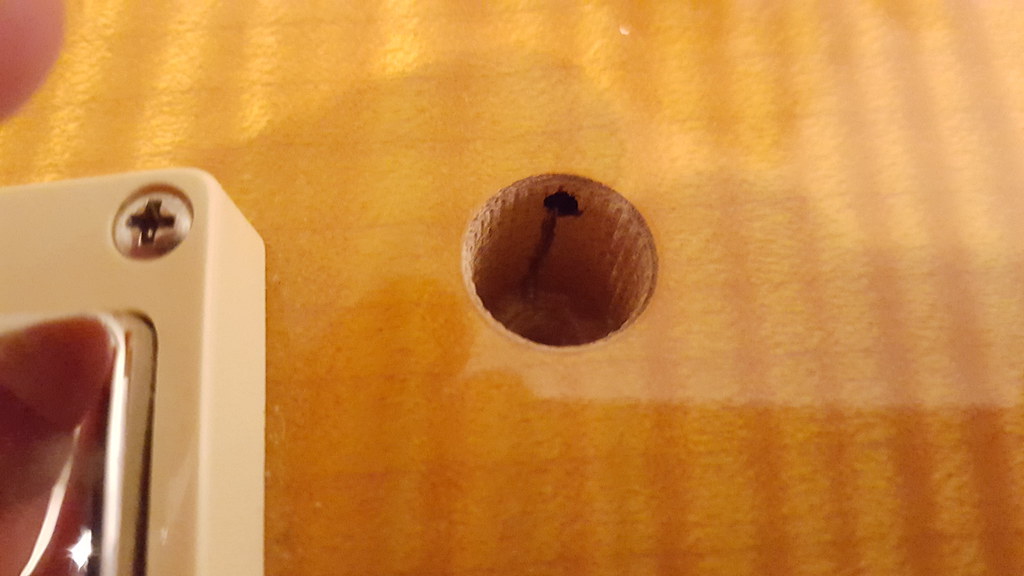
 20151119_221730 by MikeGBlues, on Flickr
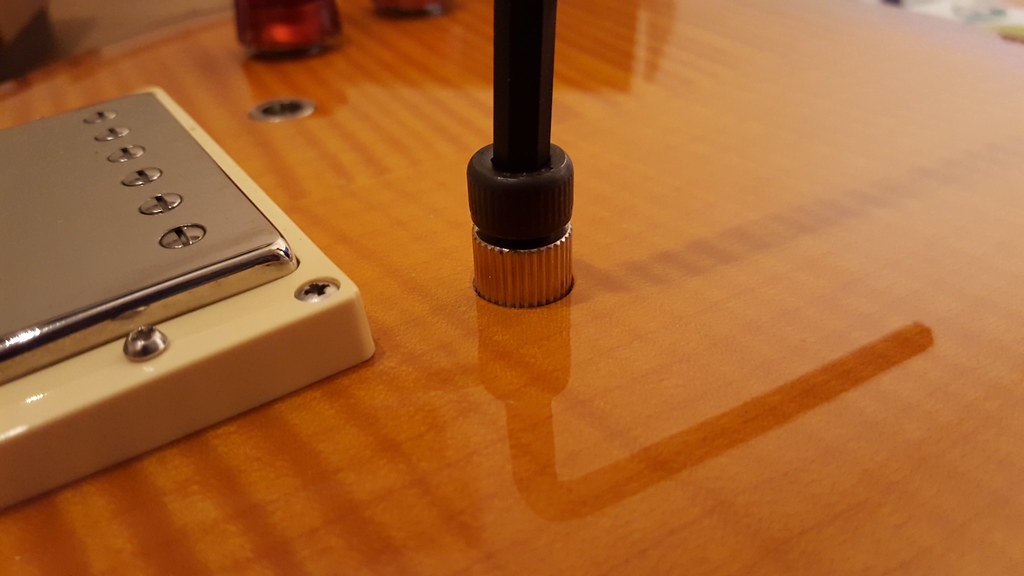
Just put the small slug into the stud well and thread the bolt in until it bottoms out and turn it with the Allen key. the bushing starts to rise up. Once it stops rising put the next slug in and repeat. Pops right out!
 20151119_222107 by MikeGBlues, on Flickr
Tap the supplied wells/bushings in with a hammer and a soft piece of wood. When near flush screw in the stud all the way and place a cloth over the top of the stud and using the wood and a hammer tap it in until the stud is flush.
 20151120_201807 by MikeGBlues, on Flickr
Just make sure the grounding wire is ok before you put the bushing in. Check witha multi-meter once installed.
 20151119_222521 by MikeGBlues, on Flickr
Before anything else I have to give a big thanks to Jim (Bodia) and everyone at MannMade USA who went out of their way to get this bridge (Including the early version) to me and went out of their way to sort any issues. :congrats:
So...
Well, it looks good! Nice, solid looking piece of aluminium and the brass studs, saddles and screws look very classy!
But looks mean nothing if it doesn't sound good! The good news is that it has definately improved the sound of my Marsden. It was always a good sounding guitar but incremental upgrades have improved things along the way. Swapping the nut was one of the best upgrades but it was always slightly dark sounding...
The Mann bridge has given the sound some balance. The lows are still there and well defined but it's more balanced in the mid regions and a smooth high end. I like it. A lot!
Sustain wise it's about the same I think or perhaps a little better. Swapping the nut and moving to locking studs improved the sustain quite a bit, although the guitar was never lacking. The locking studs are gone and replaced with the brass studs and stud wells. None locking as you'll know but so well made they don't need to be.
So, looks good, sounds good and a big improvement on the stock SE stoptail. well worth investing in!!!
So... You want pics?
Gotta get these studs out...
20151119_221102 by MikeGBlues, on FlickrEasy enough with the kit supplied by John!
20151119_221730 by MikeGBlues, on FlickrJust put the small slug into the stud well and thread the bolt in until it bottoms out and turn it with the Allen key. the bushing starts to rise up. Once it stops rising put the next slug in and repeat. Pops right out!
20151119_222107 by MikeGBlues, on FlickrTap the supplied wells/bushings in with a hammer and a soft piece of wood. When near flush screw in the stud all the way and place a cloth over the top of the stud and using the wood and a hammer tap it in until the stud is flush.
20151120_201807 by MikeGBlues, on FlickrJust make sure the grounding wire is ok before you put the bushing in. Check witha multi-meter once installed.
20151119_222521 by MikeGBlues, on Flickr
Last edited: