
You are using an out of date browser. It may not display this or other websites correctly.
You should upgrade or use an alternative browser.
You should upgrade or use an alternative browser.
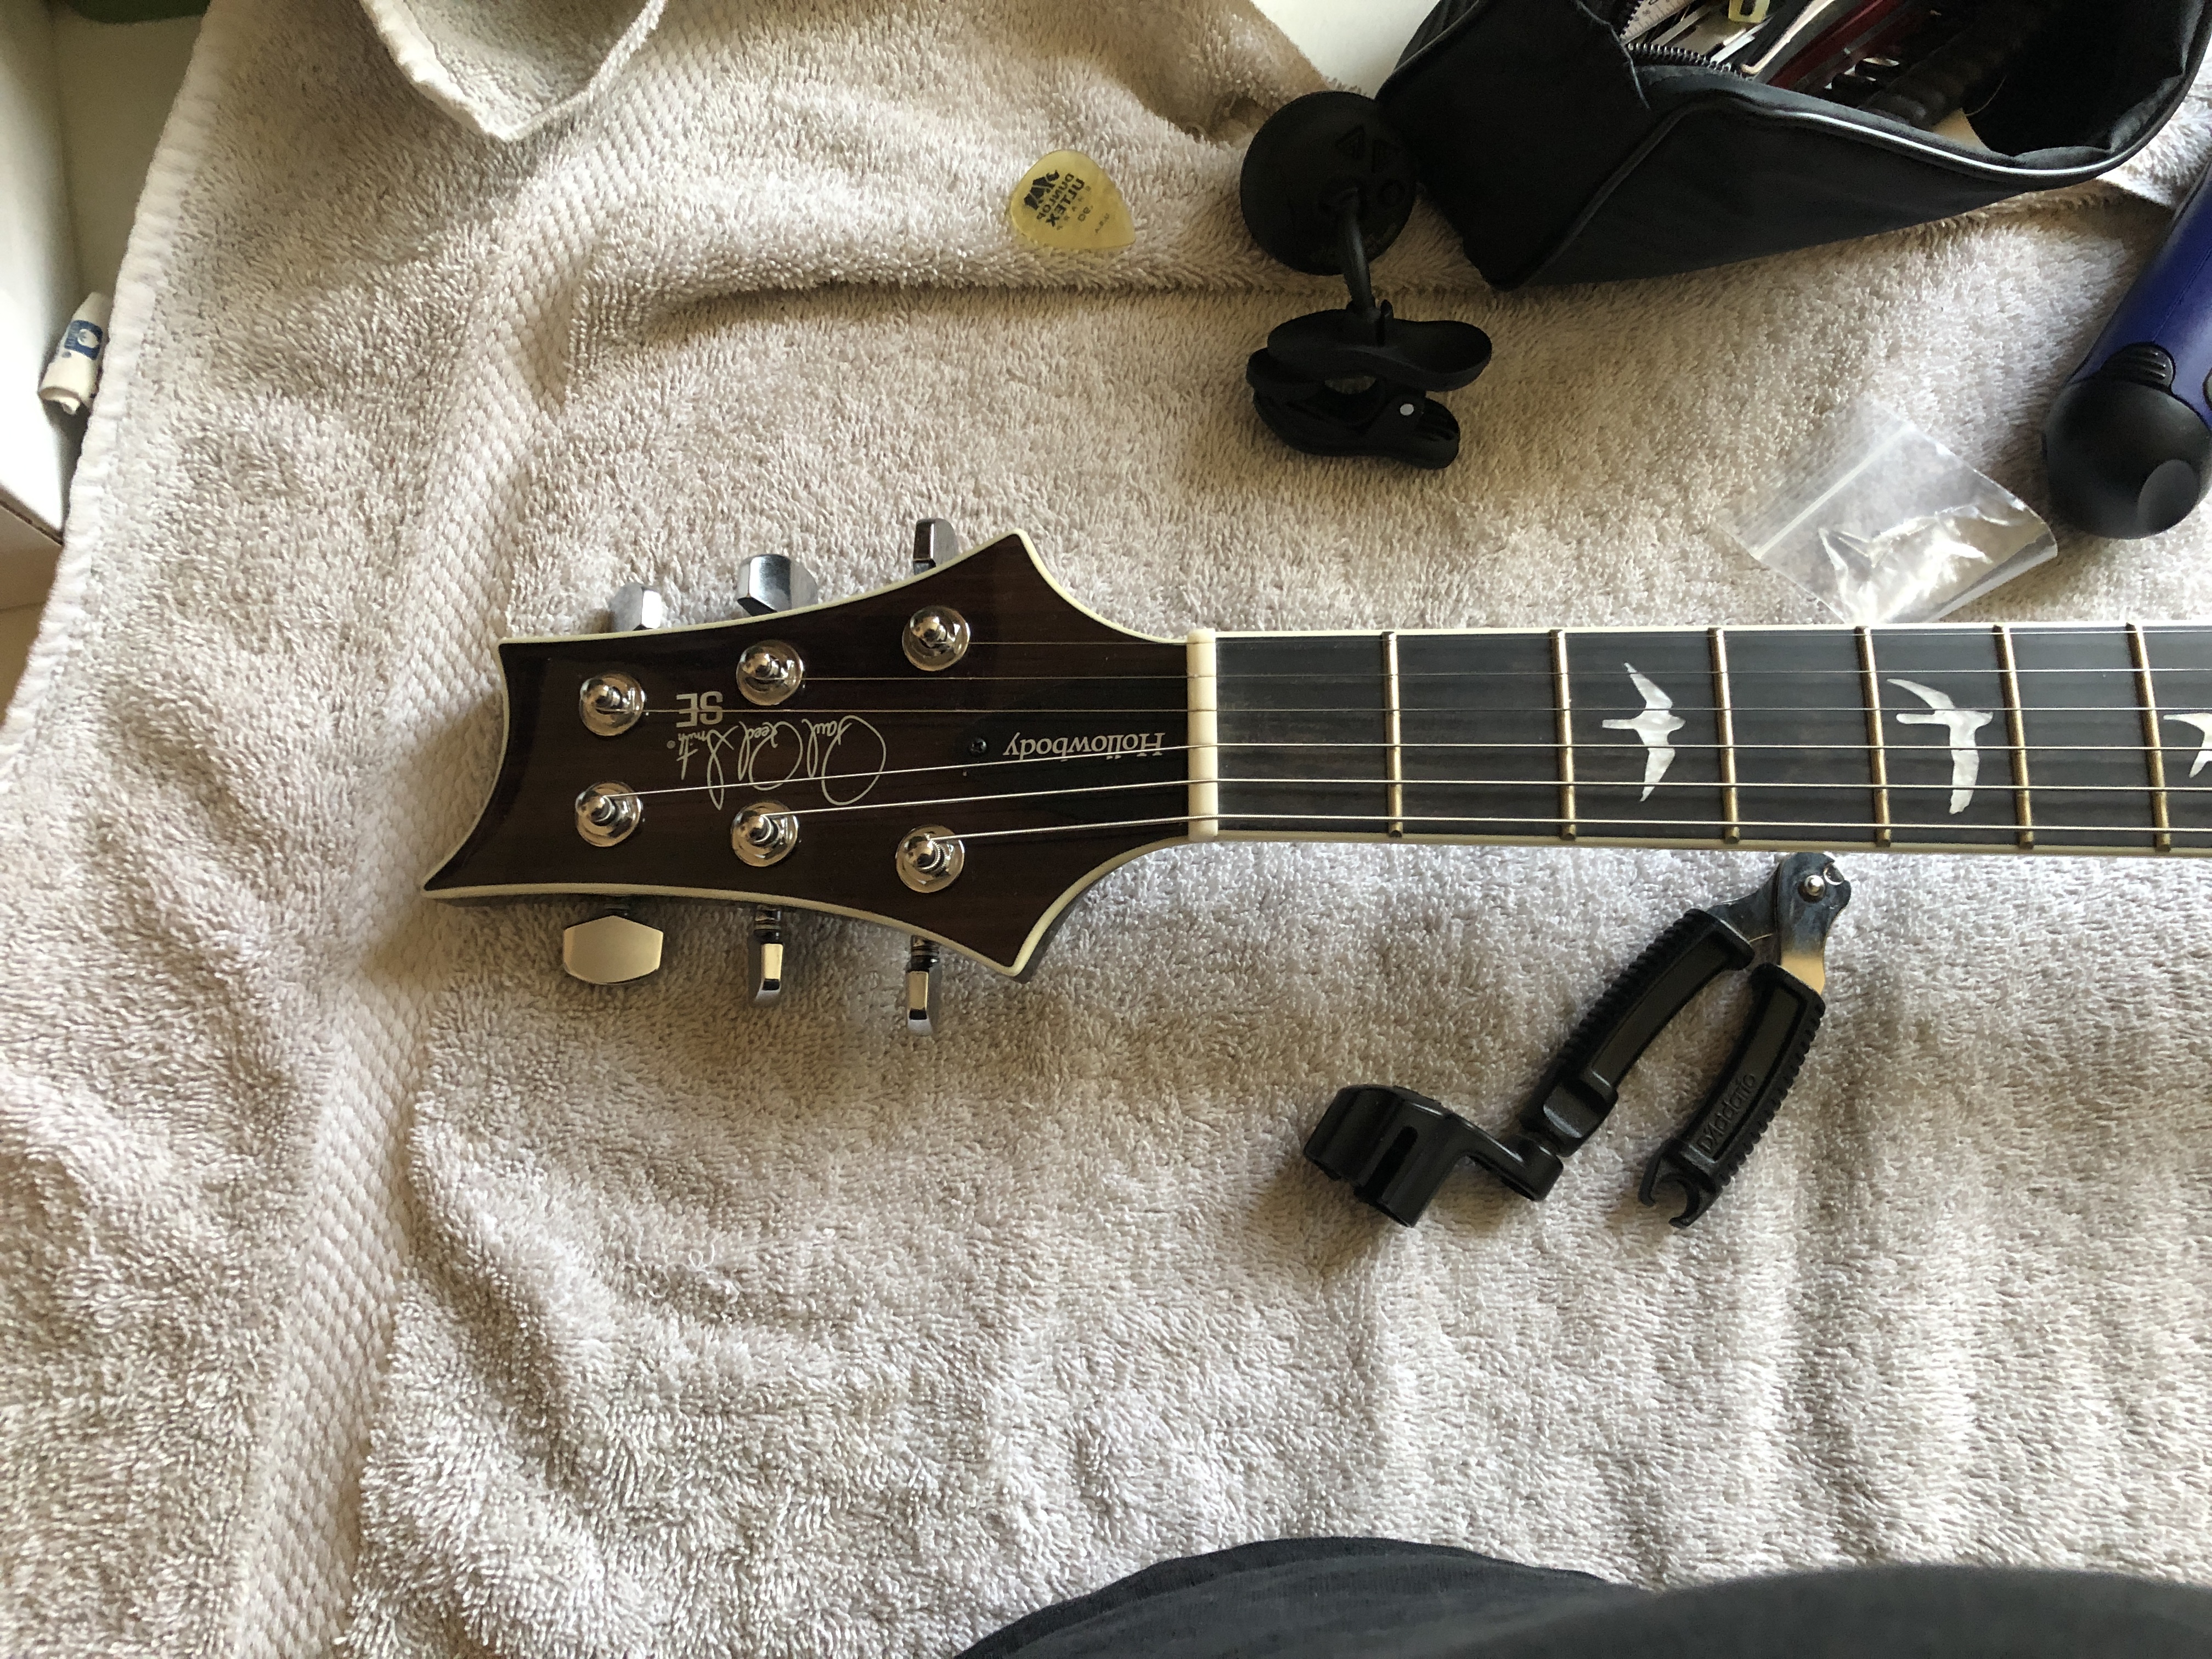
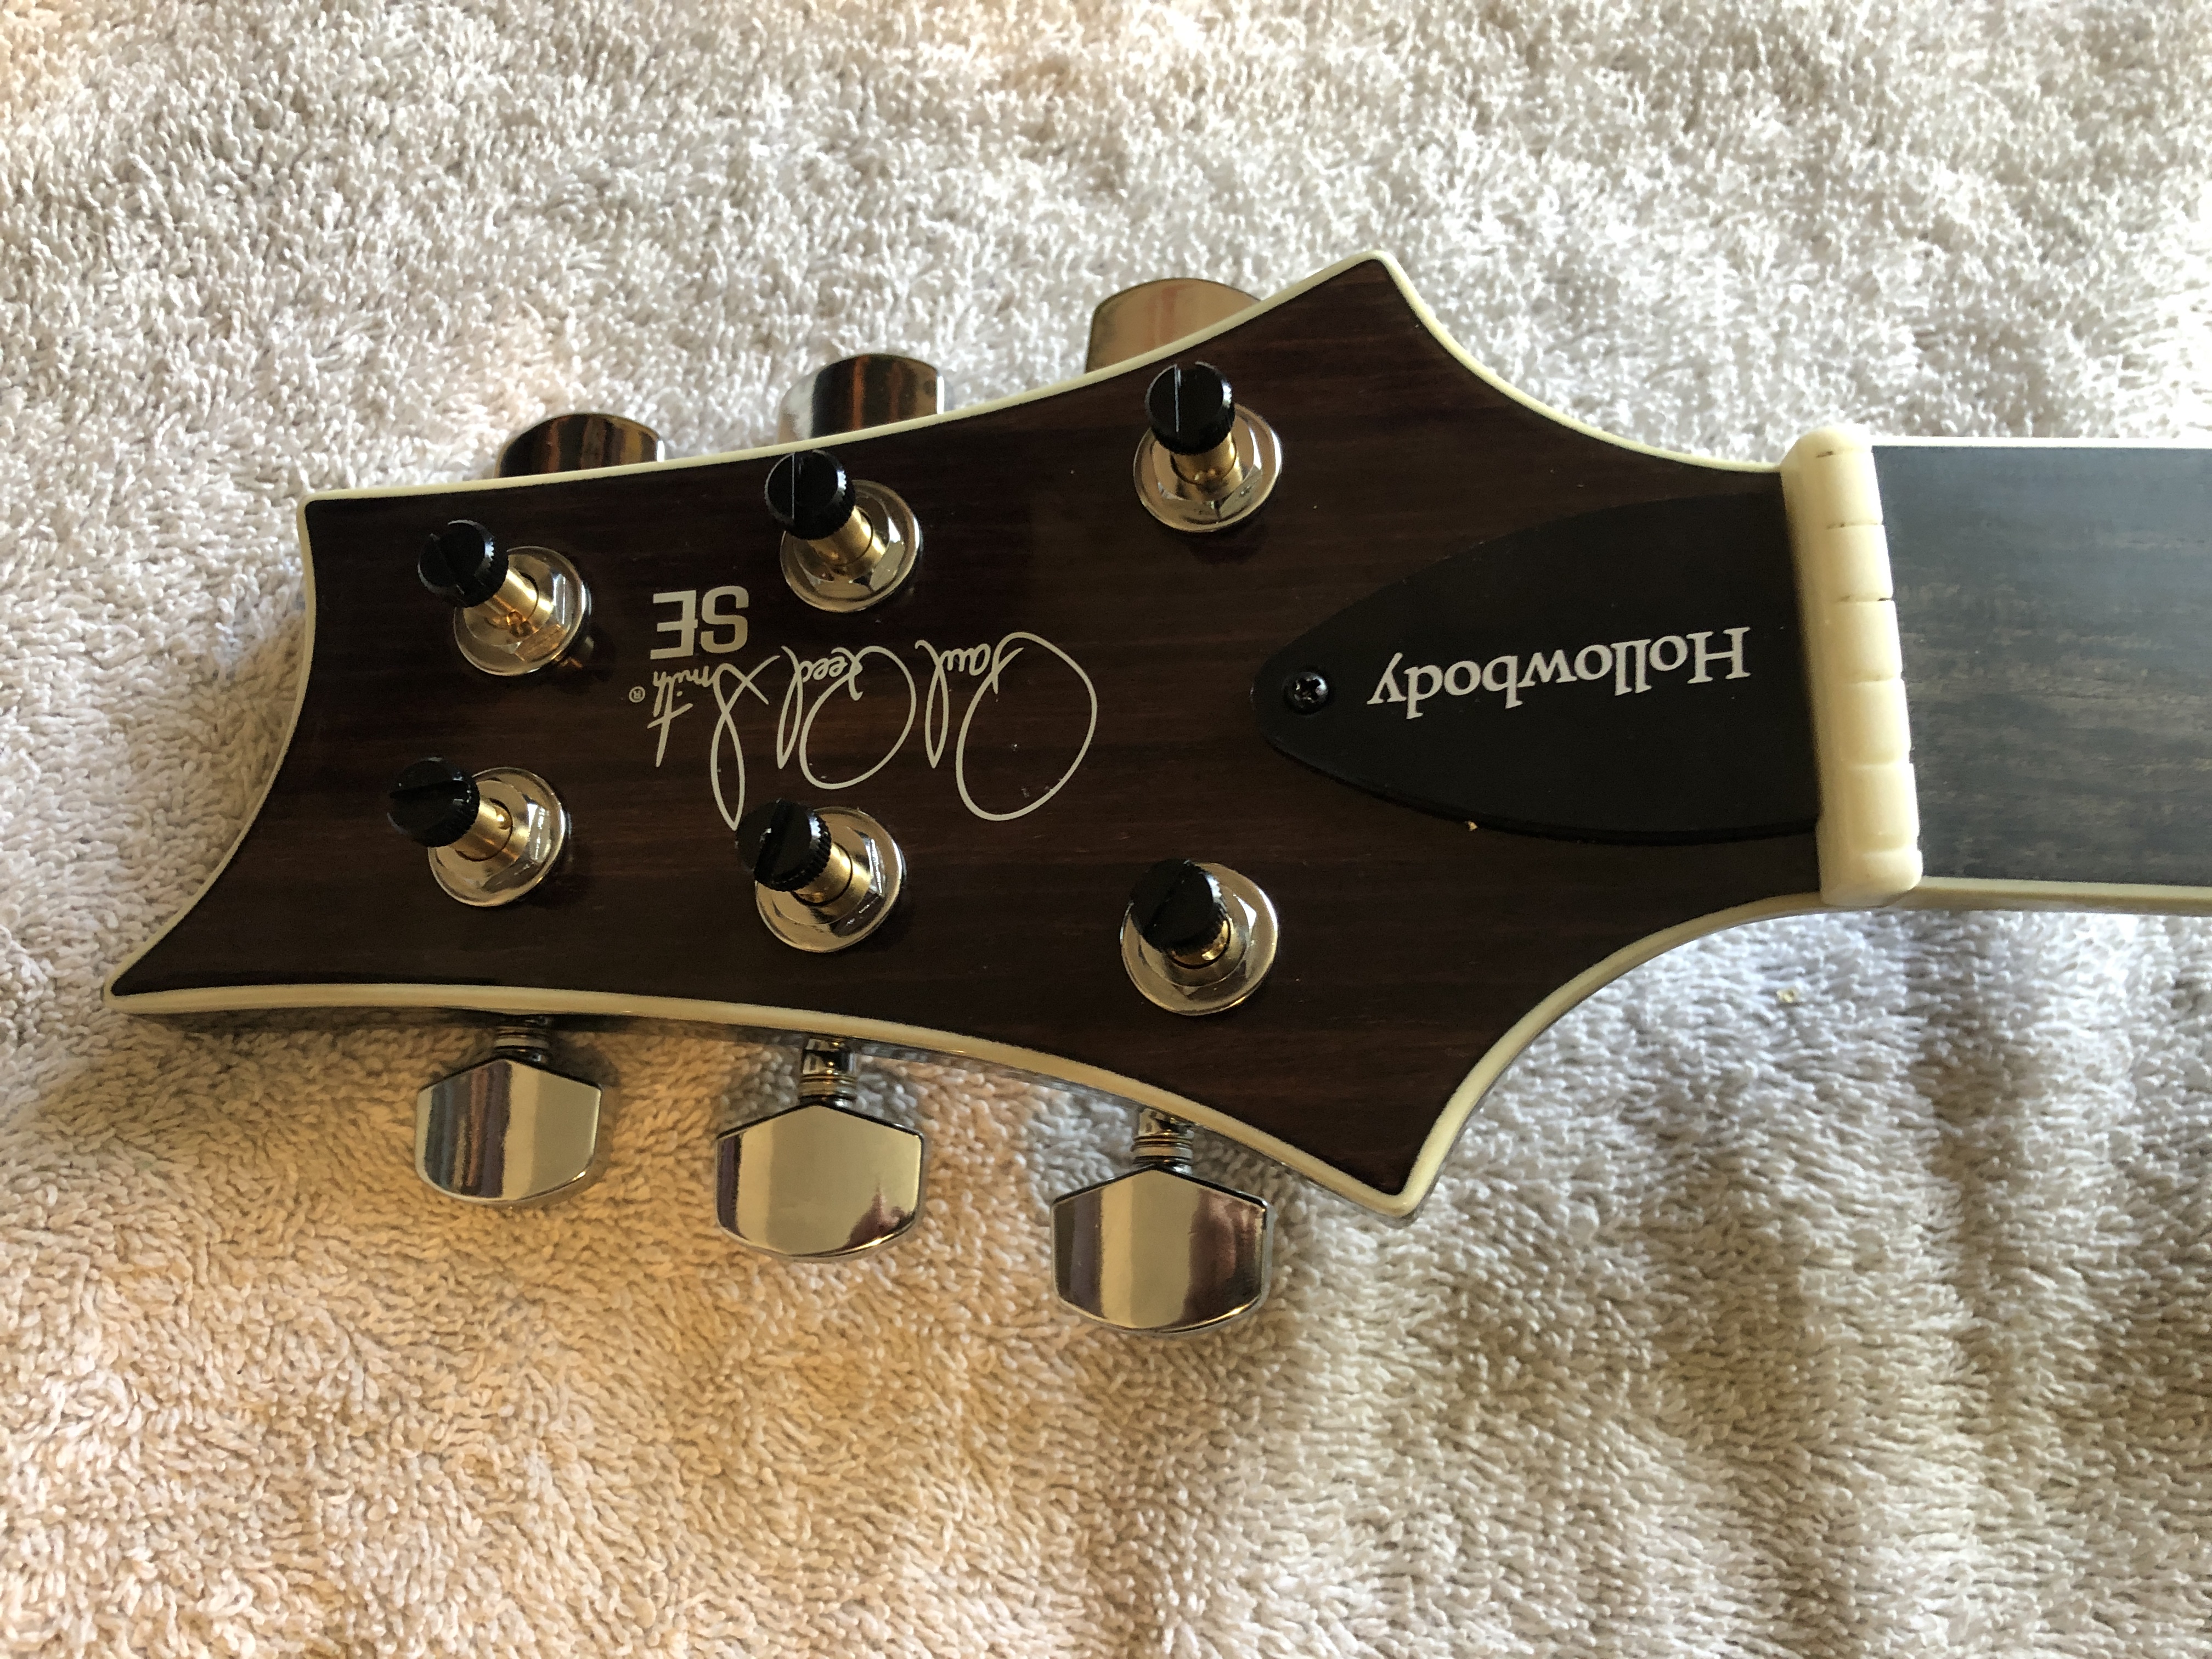
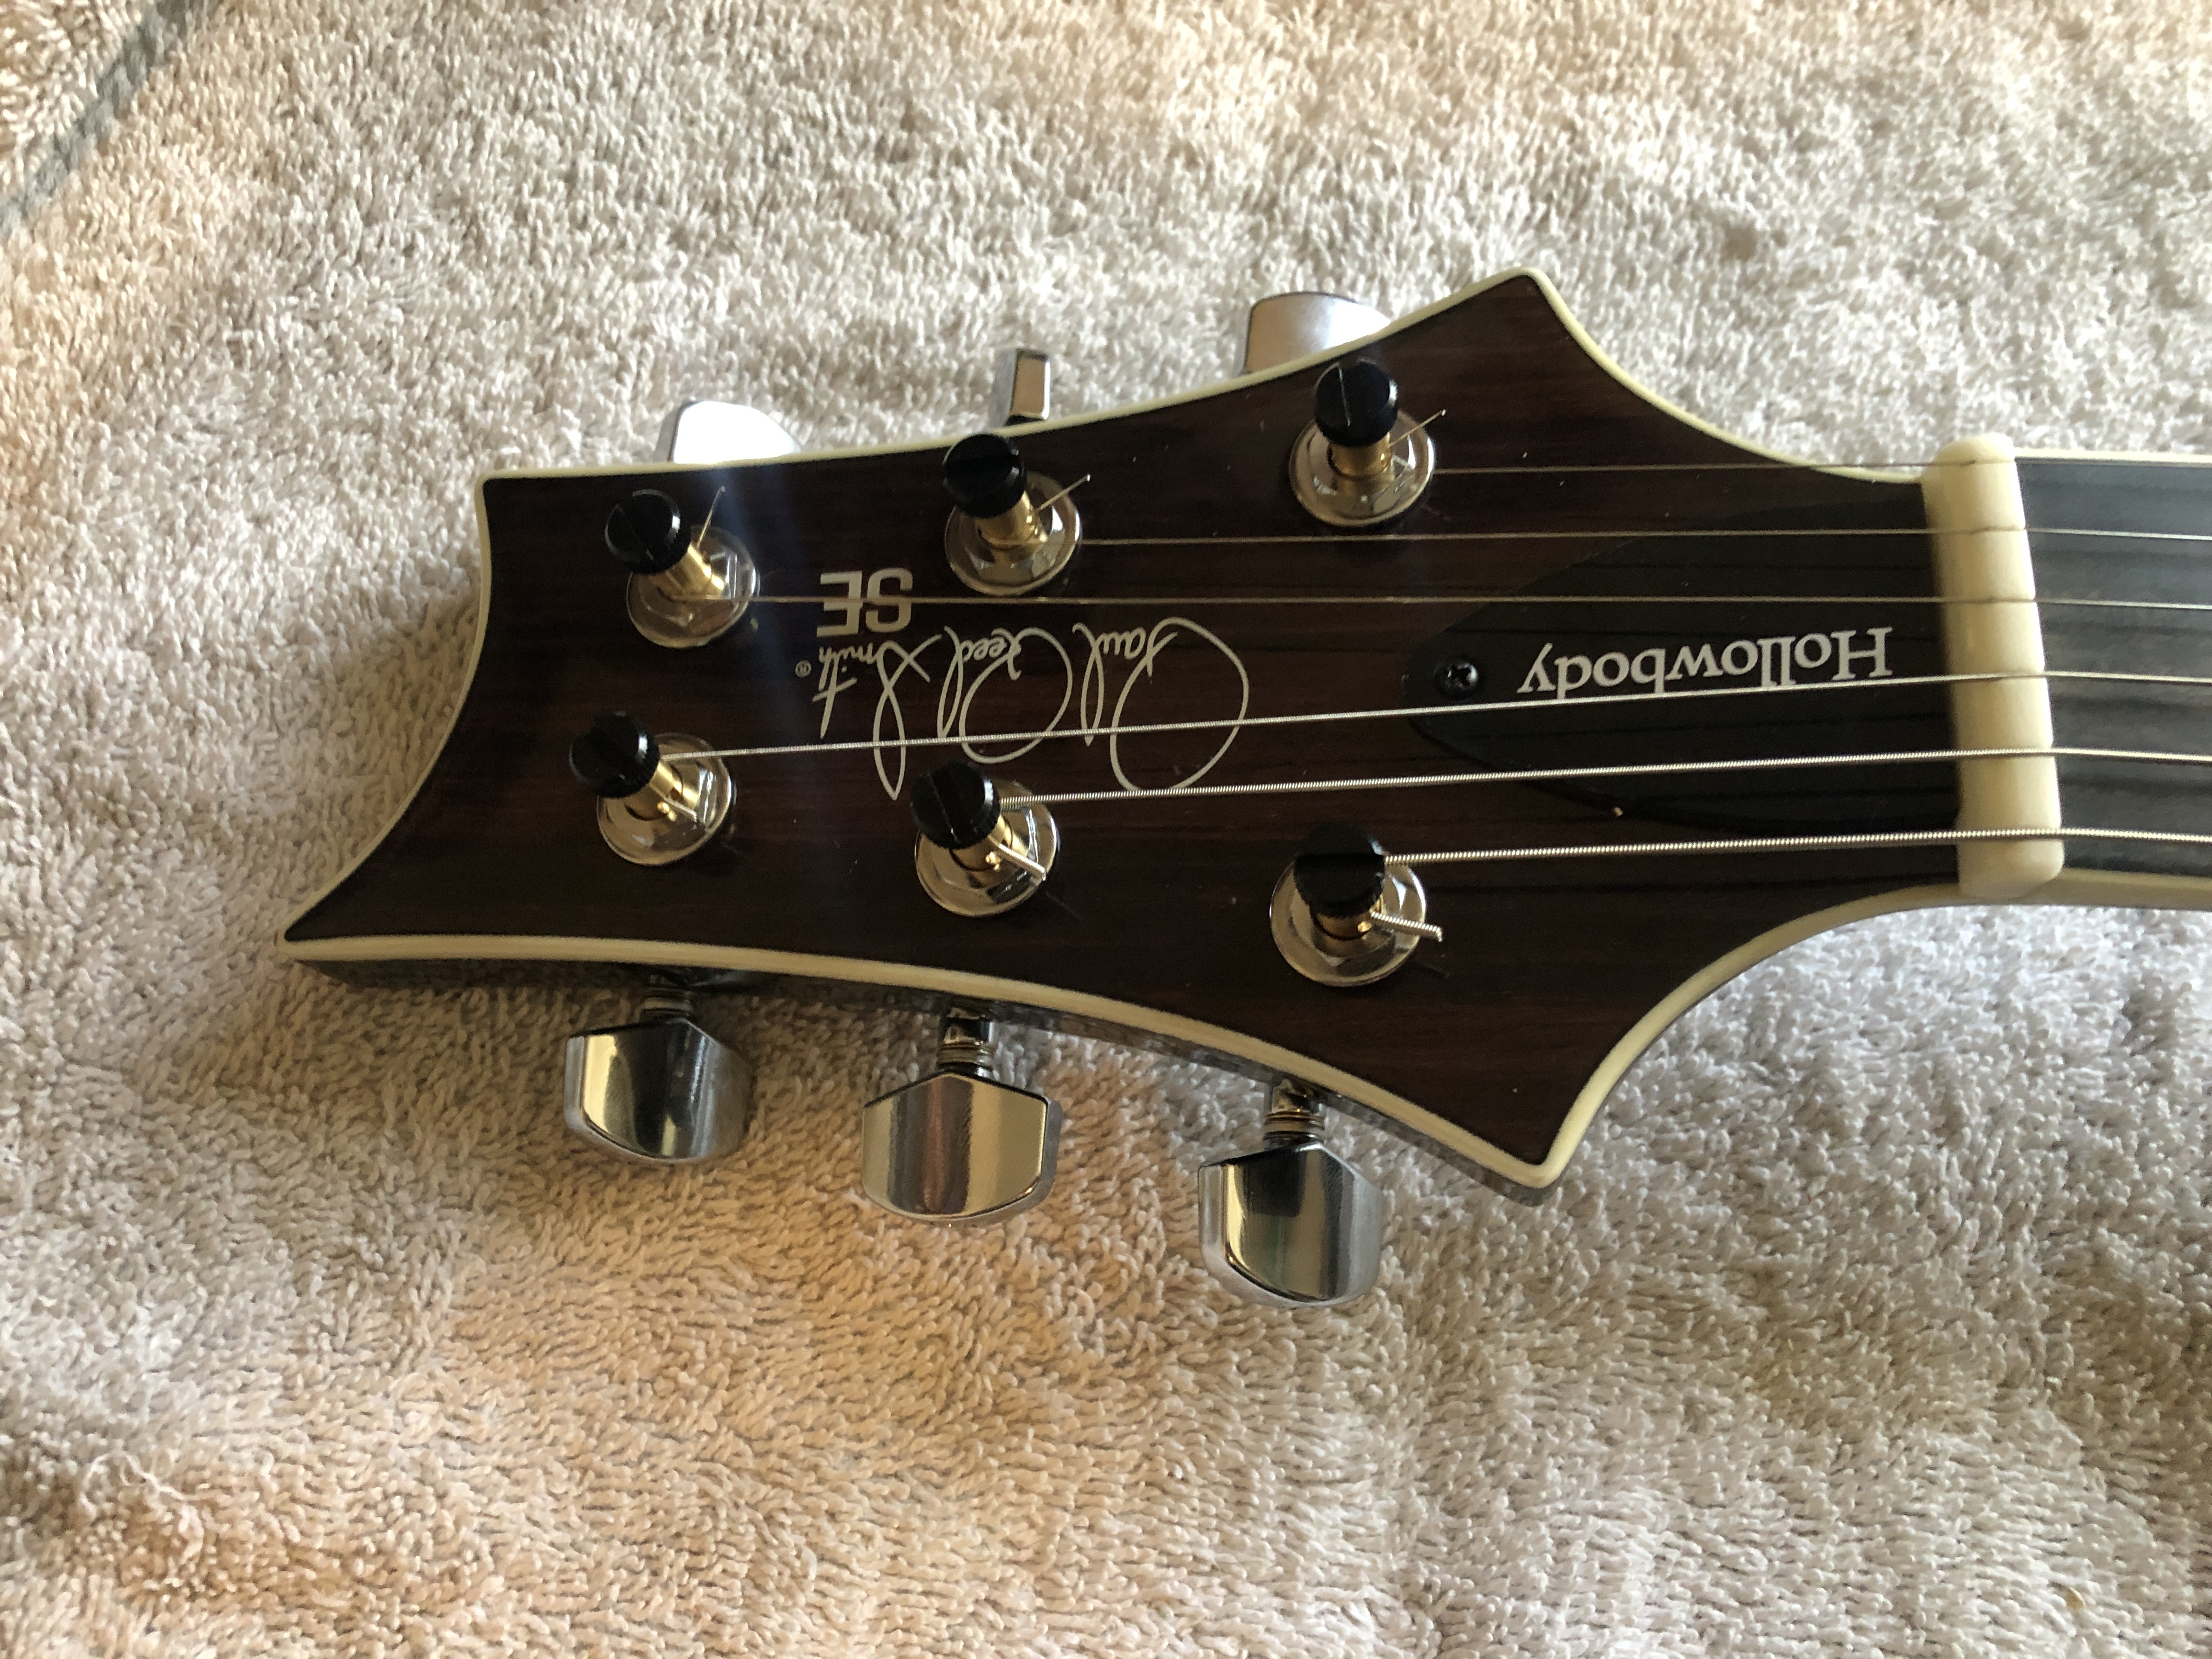
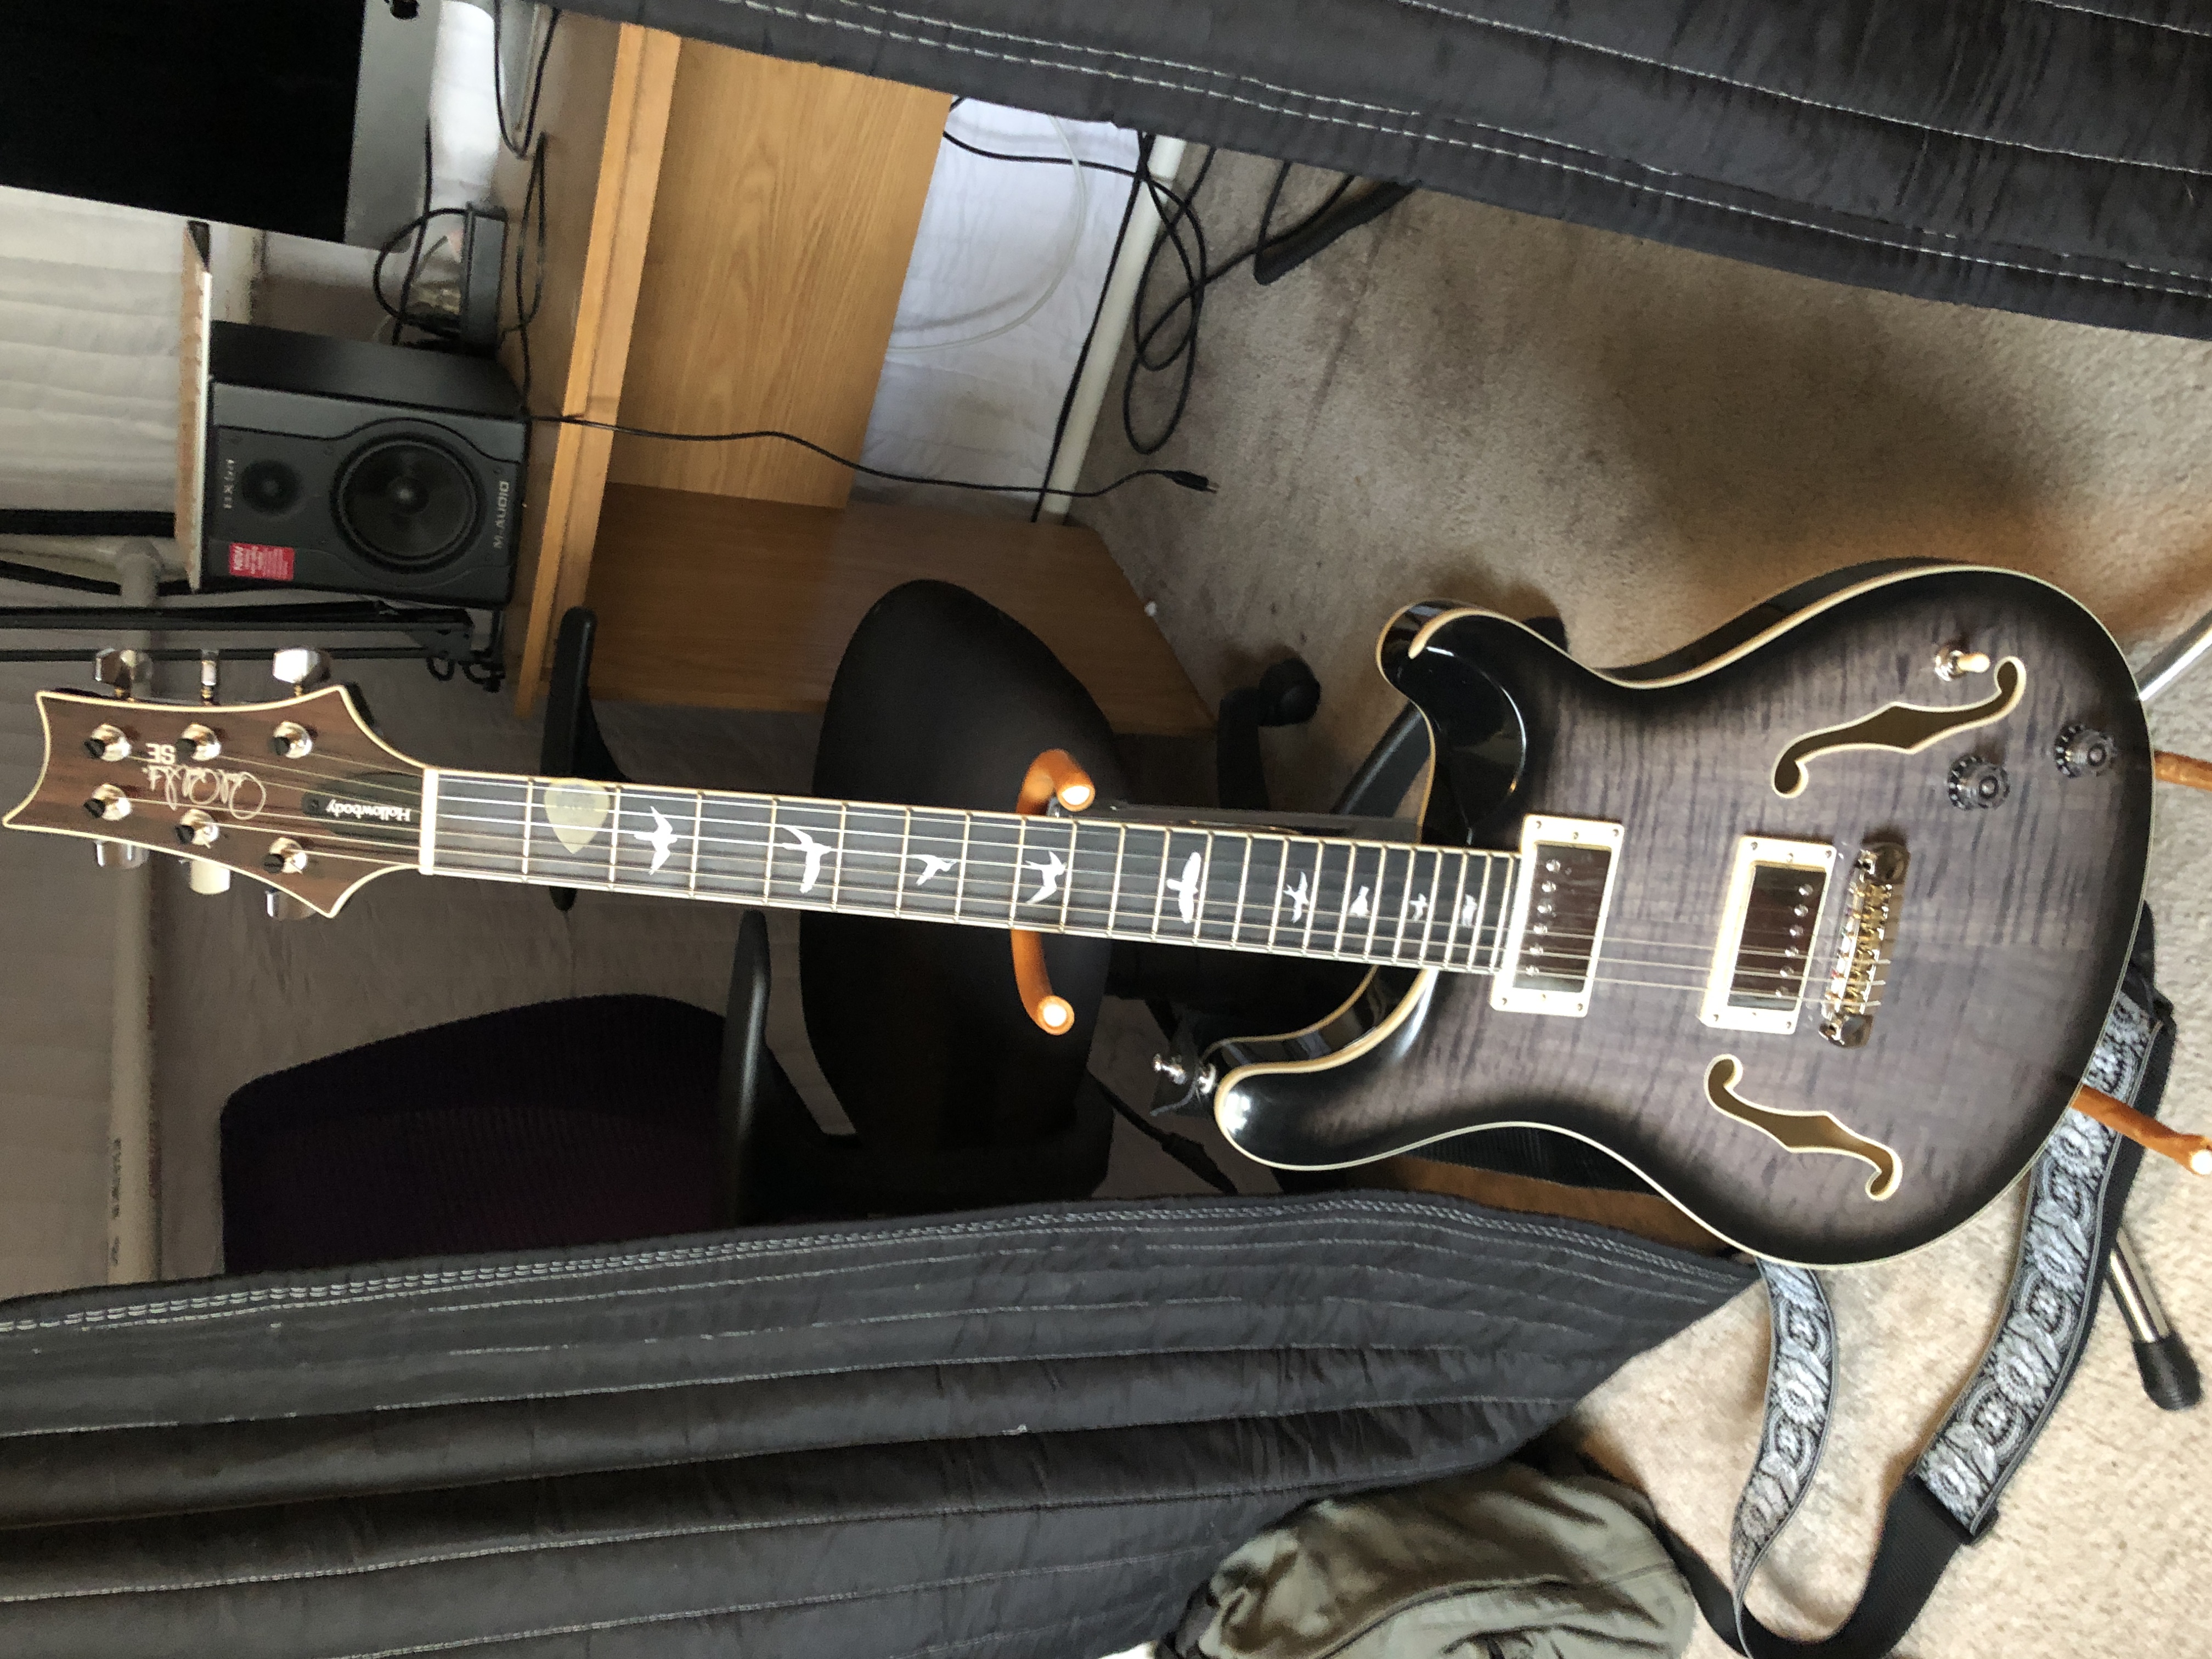
Did some minor surgery on my SE Hollowbody II...
- Thread starter Aahzz
- Start date

bodia
Authorities said.....best leave it.....unsolved
Nice! I approve.
Joesnewmatch
Semi-Special Guitarist
That's a winning mod! Drop in easy, or elbow grease required?
Aahzz
Bluebeard Member
- Joined
- Nov 12, 2012
- Messages
- 6,442
That's a winning mod! Drop in easy, or elbow grease required?
Ridiculously easy, took maybe 15 minutes.
CandidPicker
Tone Matters. Use It Well.
Concur. Good job. The locking tuner swap required on a few simple steps and positioning with a machinist's rule. Don't forget to buy a 10mm deep socket for tuners, you'll find it much easier this way.
Aahzz
Bluebeard Member
- Joined
- Nov 12, 2012
- Messages
- 6,442
Concur. Good job. The locking tuner swap required on a few simple steps and positioning with a machinist's rule. Don't forget to buy a 10mm deep socket for tuners, you'll find it much easier this way.
I just used a small adjustable wrench.
CandidPicker
Tone Matters. Use It Well.
I just used a small adjustable wrench.
You're braver than me. My concern was the wrench slipping and dinging the finish. I used a $3 (10mm) ¼" deep socket, a $2.75 hex>square ¼" adapter, and my ratchet-reversible screwdriver. My hands aren't steady enough for the adjustable wrench.
dmatthews
Dave's not here
LOVE that mod/upgrade.
Aahzz
Bluebeard Member
- Joined
- Nov 12, 2012
- Messages
- 6,442
You're braver than me. My concern was the wrench slipping and dinging the finish. I used a $3 (10mm) ¼" deep socket, a $2.75 hex>square ¼" adapter, and my ratchet-reversible screwdriver. My hands aren't steady enough for the adjustable wrench.
I had the same concern, just worked slowly and carefully.
Stephen J.
New Member
- Joined
- Apr 19, 2020
- Messages
- 485
Nice. Looks great and likely makes string changes a little easier. Notice any tonal shift?
Aahzz
Bluebeard Member
- Joined
- Nov 12, 2012
- Messages
- 6,442
Nice. Looks great and likely makes string changes a little easier. Notice any tonal shift?
Have only played unplugged so far, and of course there was a string change involved, so on one hand I'd say even unplugged it seems a touch brighter and has more overtones, but that may be the new strings....
CandidPicker
Tone Matters. Use It Well.
I had the same concern, just worked slowly and carefully.
So did I, but you said 15 minutes. I was like, how the heck...? I think even working slowly, it took me almost 45 minutes. I was checking the West St video as I was working, so that may have been the reason...

Roy
Still warming up
- Joined
- Jun 14, 2020
- Messages
- 123
I used a nut driver on mine.
That’s what she said...
Seriously, nicely done mod!
Aahzz
Bluebeard Member
- Joined
- Nov 12, 2012
- Messages
- 6,442
So did I, but you said 15 minutes. I was like, how the heck...? I think even working slowly, it took me almost 45 minutes. I was checking the West St video as I was working, so that may have been the reason...
OK, I lied. I got curious and went back and looked at the time stamps on my photos - counting unstringing/restringing it was 45 minute, with 25 involved in the actual tuner swapping part. There was a 5 minute interruption by Mrs Aahzz involved.
I'm also curious as to why you mentioned using a machinist's rule - I just positioned them using the small screw for the back of the headstock - what other positioning option is involved? Wondering if I missed something by not watching a video/reading instructions...I just unscrewed the screws on back, then undid the nuts that hold them on, then reversed the process.
John Beef
Opaque
Which tuners are those? Phase 2? SE locking? I see brass.
Alnus Rubra
Loving nature’s wonders
Nice!
Aahzz
Bluebeard Member
- Joined
- Nov 12, 2012
- Messages
- 6,442
Which tuners are those? Phase 2? SE locking? I see brass.
SE Locking
Similar threads
- Replies
- 13
- Views
- 464
- Replies
- 0
- Views
- 119
- Replies
- 18
- Views
- 324
- Replies
- 6
- Views
- 140